Showing posts with label princess. Show all posts

Thursday, May 17, 2012

DIY Hime Gyaru Handbag


I've already made post about decorating handbags (in fact, it was my very first post), but it was poorly done and wasn't very helpful or specific >< So consider this as kind of a...supplement (?) to that post.

Start with a plain handbag. I purchased this one from the thrift store for about $3.

There's no way that I could make a list of things needed for this tutorial, just look at this picture X) Besides, most of my decorations are improvisational. There's never a real plan. The picture above is composed of all the things that I gathered as possible things to use. I didn't use all of them, they're just examples >_>


I mixed a little bit of pink acrylic paint with white paint to create a very light baby pink color.


I then used the mixed paint to cover the largest areas of the handbag. I also used white paint to reinforce the accent flap of the bag~


Using a super cheap (it was literally like $0.88) broken pearl necklace, I created a trim for the flap.


Add a pretty lacy trim to the underside of the flap so that it is visible from the outside, but no one can see where or how it was attached.


Time for flowers of course ^^~ they're a necessity.


It still looked a bit empty, so I added a large bow to the top of the bag and a small ribbon bow to the bottom. On top of the small ribbon bow, I added a Victorian button piece. On the underside of the handbag I attached more lace trimming.


Lastly, I used smaller rose pieces as the trim for the upper flap. This part took so long >< I had to snip the flowers from the bouquet, then hot glue them to hold their shapes (otherwise they would unravel), and then glue each one to the bag.

Well, this has been a long (and pic-heavy) post. I hope that you guys are somewhat inspired to try something like this <333 ^^


See original handbag decorating tutorial here. 

Wednesday, April 11, 2012

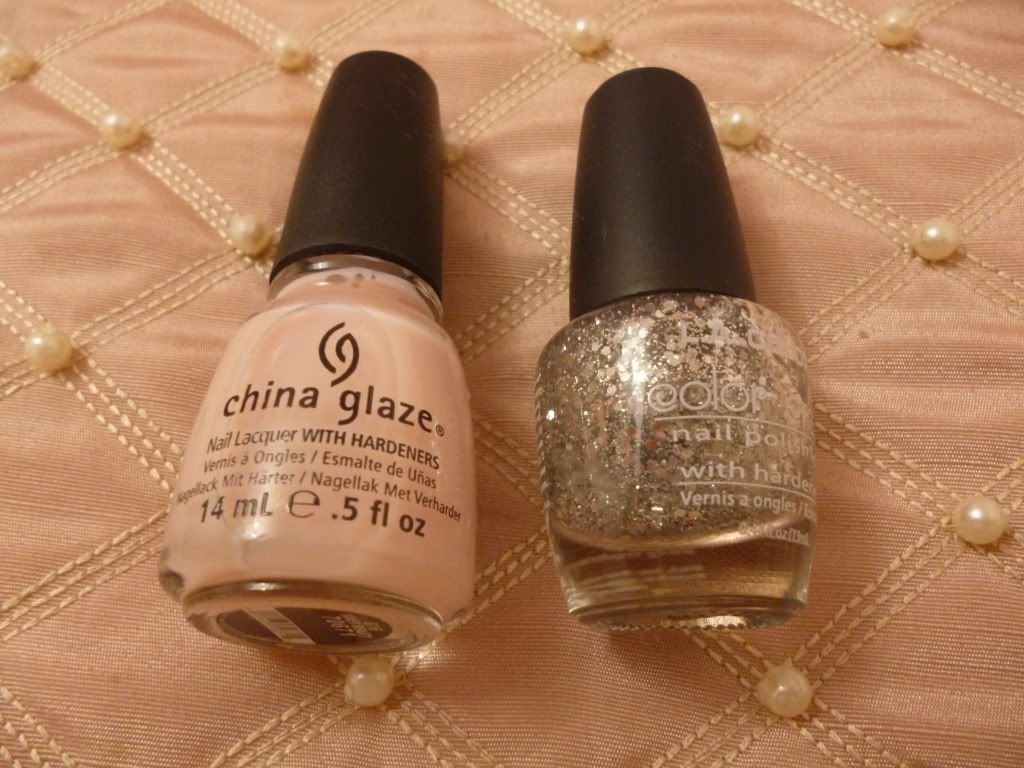
NOTD: Magic Sparkle Ribbon

I love using sparkles in nail art. I think that nails are the best place to incorporate sparkles and glitter into one's appearance. It's just so subtle and pretty ^^


Colors Used:

  • China Glaze - Inner Beauty
  • L.A. Colors - (No color name...the sparkly one =P )


Thursday, March 29, 2012

iPod Shuffle Hime Gyaru Decoden

I was going through my drawers of stuff that I rarely ever look through, and I happened to find my old iPod shuffle. I had no clue what to do with it, since I knew that it wasn't very useful to me now that I have an iPhone.


Soo...


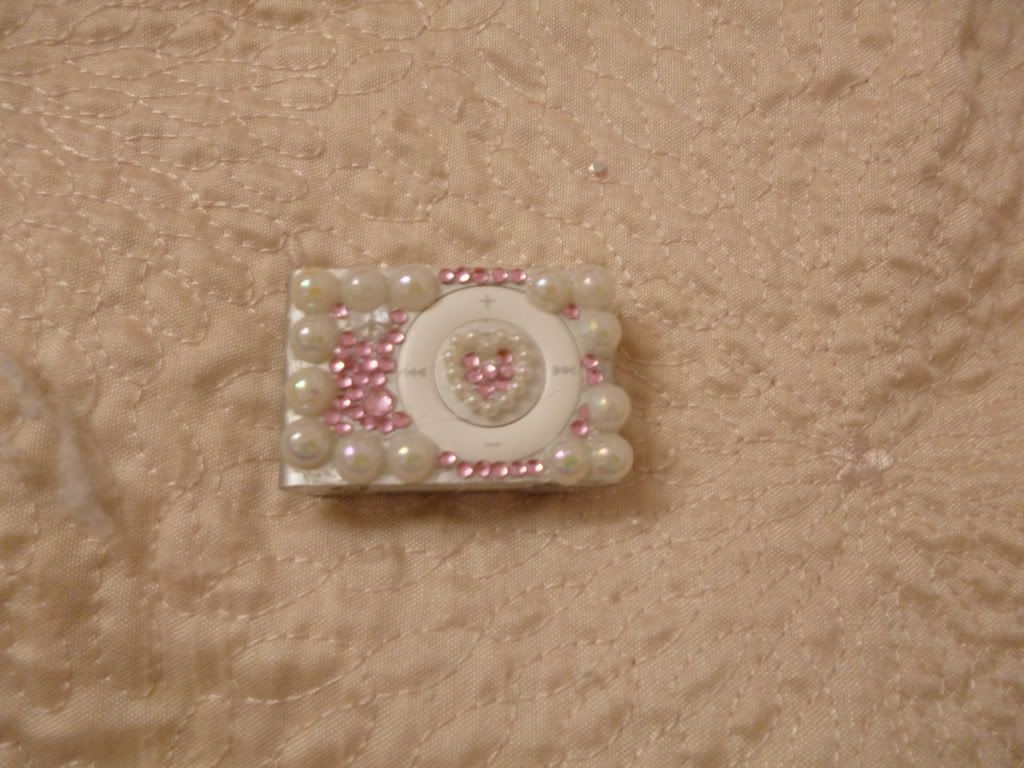
I decorated it.


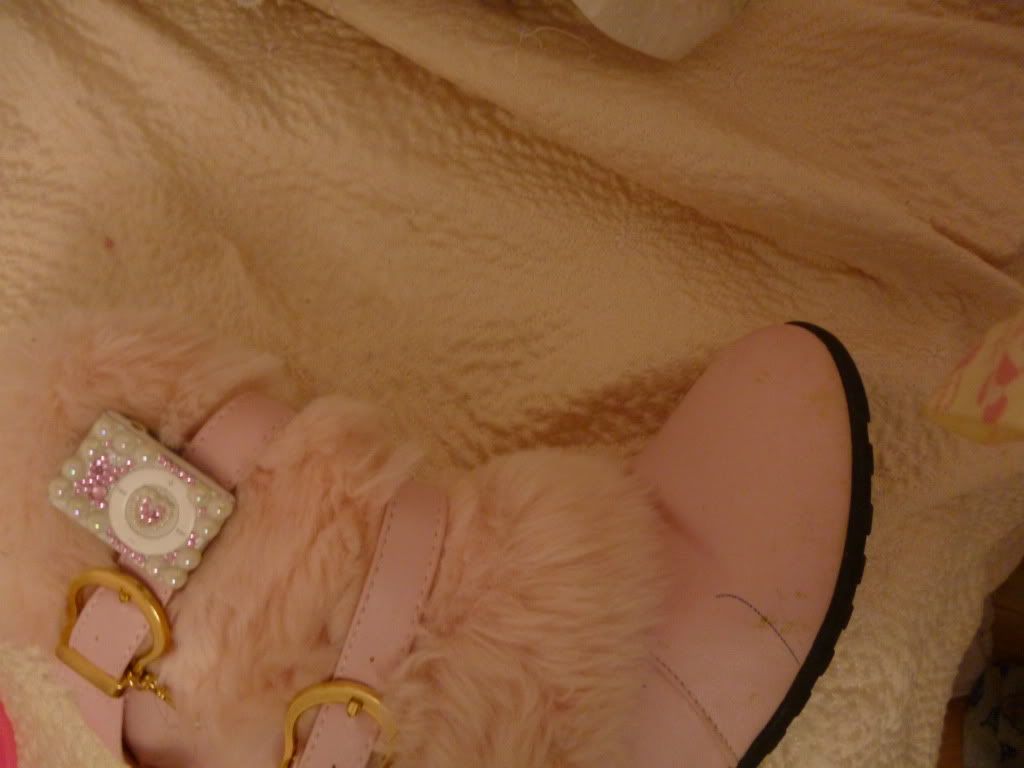
Okayokayokay I know, not the best work. I wasn't very happy with it either =/ But there are so many other uses for this that won't necessitate having it look pretty...I'll get to that later.

Right now I'm just going to give a quick breakdown on how I usually deco my things.


Select whatever you wish to deco and wipe it off with alcohol. Seriously, you may think you can skip this step...but that comes with the risk of dust being trapped under your glue which will make your pieces adhere to the surface poorly (Actually, I rarely do this step myself. I remain unconvinced that there is a significant difference whether I use alcohol or not. However, my luck is not your luck. I'd feel bad if I told you to skip this step and your decorations fell off T_T).


Set out all significant pieces on or around your iPod. In this step, you at least want to have out your border and larger pieces.


Spread some of your glue (I always recommend using E6000 for everything!) over a small surface. Begin placing your border pieces around the edges of your iPod. I always glue the outside border first so that I can be sure that the pieces that I put inside will not interfere with how the border turns out. After all, the border is the only part of this that needs to be pretty neat. Anything else I can always move around to suit the configuration.


After finishing the border, you can fill in the spaces with your other pieces and just finish up. Hopefully yours will have turned out better than mine. As you can see,my pink bow no longer fit after I had finished my border T_T


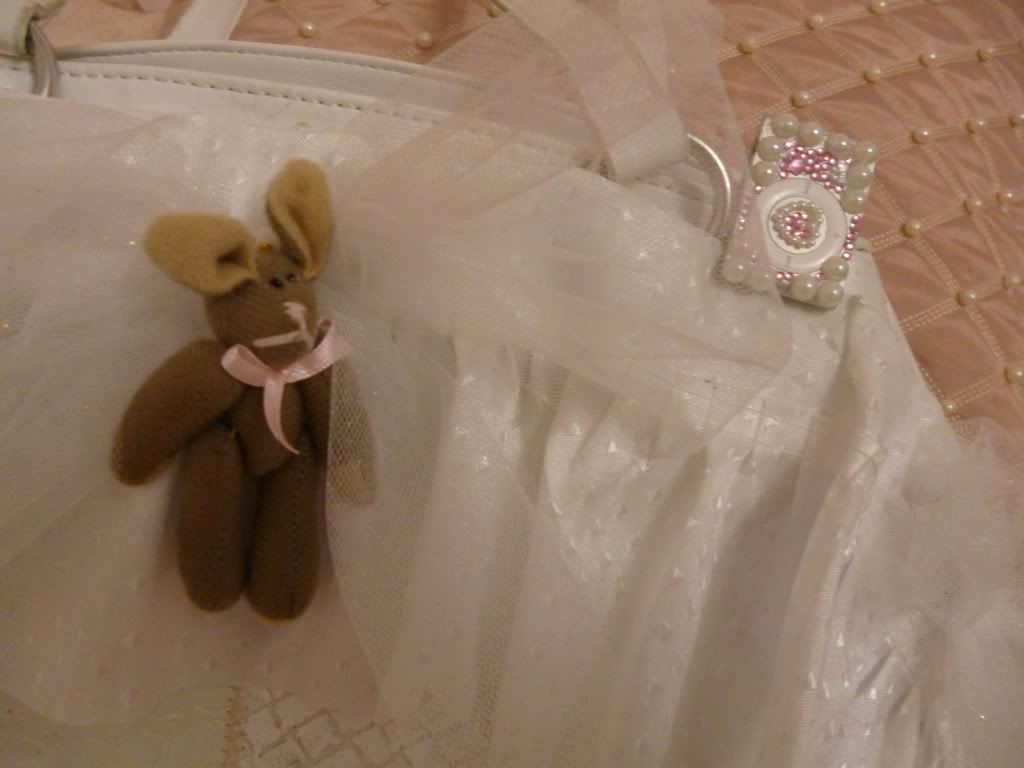
Luckily, there's other uses for things like this such as....


Purse accessory....


Shoe accessory...


And so much more~


Just joking >_>


Happy deco-ing!


Sunday, March 25, 2012

Simple Hime Gyaru Bow

Hair accessories are my favorite kind of accessory to make. I rarely venture outside of this realm with the exception of decoden (which I love, but I only do so often.) I pretty much make new hair accessories every week, and here's what I made this week:


Stay tuned for the tutorial ^^~


Step 1. Gather the material that you would like to use while making your bow and cut it into a rectangular shape. (Mine pictured is about 4" x 10" for reference) It doesn't have to be perfectly even, I promise ^^


Fold and glue both sides towards the center (I just used a hot glue gun). You can trim the edges to make them match up here if you'd like, but it really is not necessary.


Gather a roll of pretty ribbon. 

Use the ribbon to close off the open edges of the material.

 Use your fingers to make several cinches in the center of the rectangle and use hot glue to hold in place. Be careful of burning yourself! There's probably a better way to do this, but I probably haven't thought about it hard enough >_>


I also used a different ribbon  in the center to make it a bit more interesting.

From here, anything else is optional. You can quit now and leave things pretty simple or....


Add lace, ribbon, or flowers like I did. I also continued on to make another more plain bow. You can leave your bow as-is and use it for clothing or decoration, or use a clip to turn it into a hair accessory (like I did).

Whatever you do with it, just enjoy ^_^.

Monday, March 19, 2012

Hime Gyaru Camera Decoden ❤


I actually completed this project a while ago, but I happened to have some photo documentation so I decided to make a post~
There are tons of tutorial posts like this one, so why bother writing one myself? Because its my turn to show off ┌(; ̄◇ ̄)┘

I have a pretty hefty stash of decoden supplies to begin with, but I'll include some places where one may be able to establish their own stash ^^ I'll only suggest links that I've actually used.

The most popular option is probably http://fullmoon07xxx.ocnk.net/ .

There are many many things available here, and one of the shops greatest virtues is that shipping is reasonably fast and inexpensive. The supplies are very good value, and it is very easy to find exactly what you are looking for. Their stock includes nail sets, nail art supplies, and decoden supplies.

Another option that I enjoy is http://www.bornprettystore.com/ .

However...if you're in a hurry to get your supplies, this is NOT the place to go. Although shipping is free, it's pretty slow. This shop sells many types of beauty supplies, rather than specializing in items for nail art. Most items are sold in sets inexpensively.

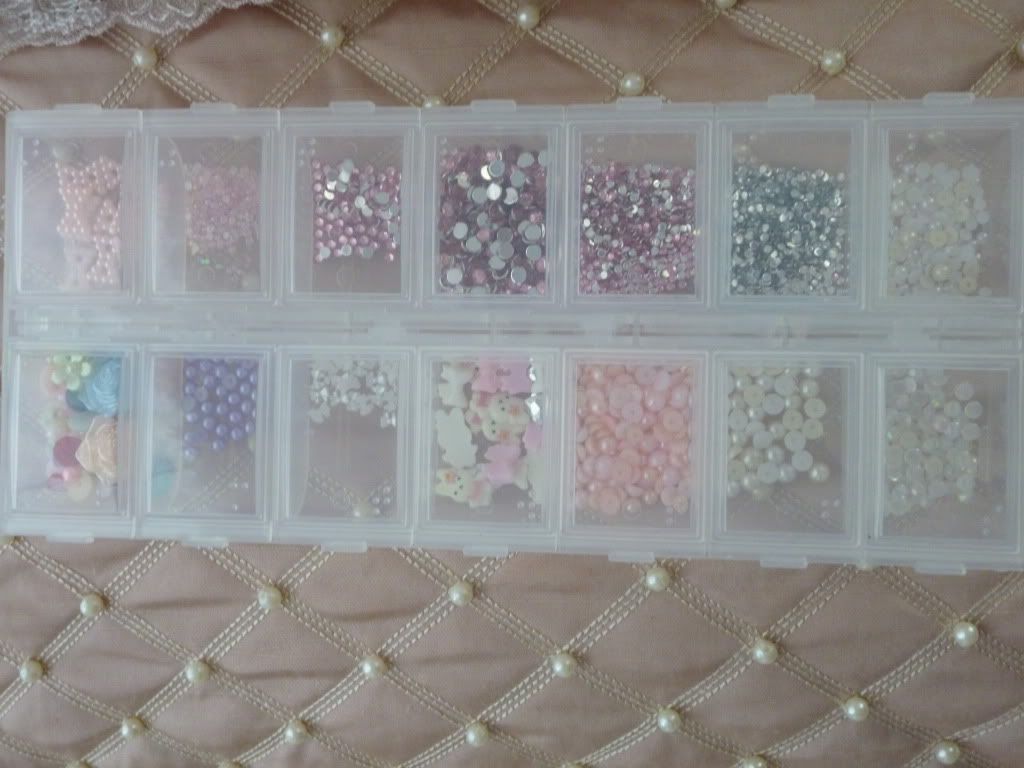
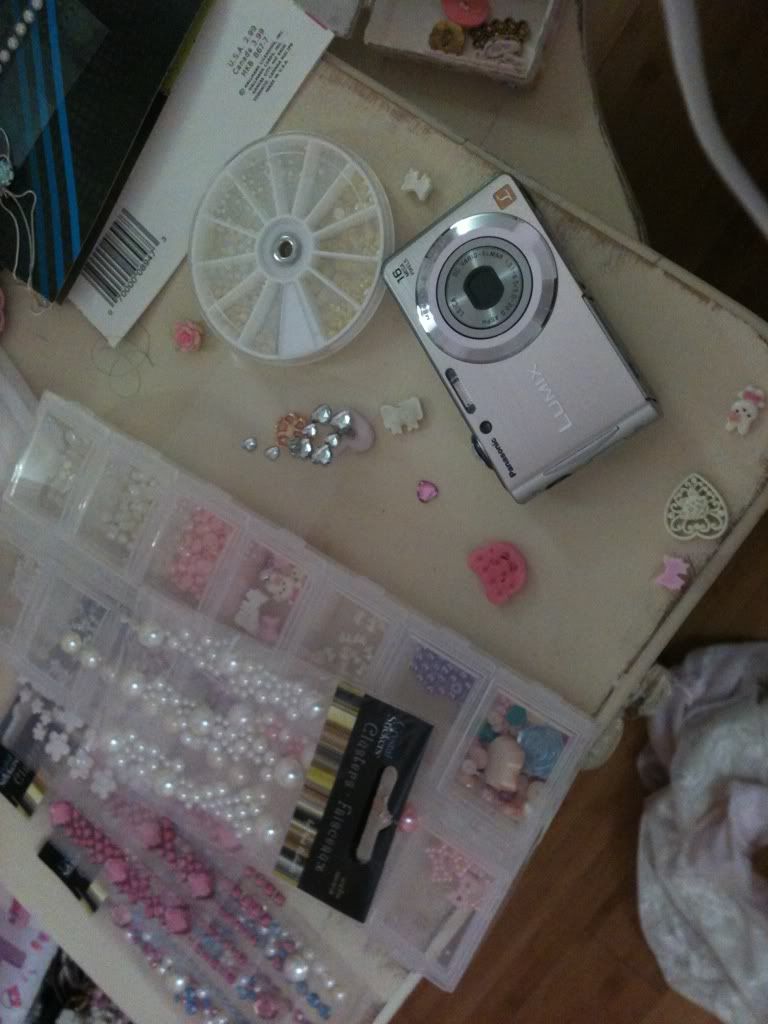
I like to keep my most popular supplies in a little plastic box to keep things organized, like this:
Items from http://www.bornprettystore.com/ usually come packaged in plastic wheels, and I leave them as such.


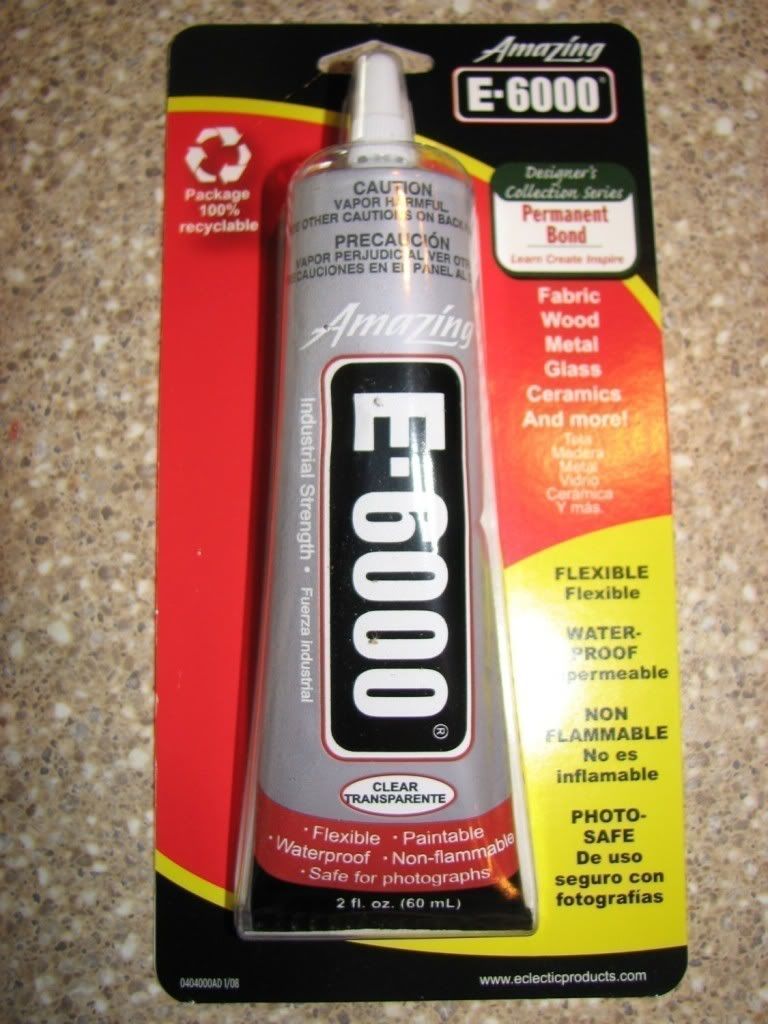
As for the glue that I use, I find E6000 to be the most cooperative.


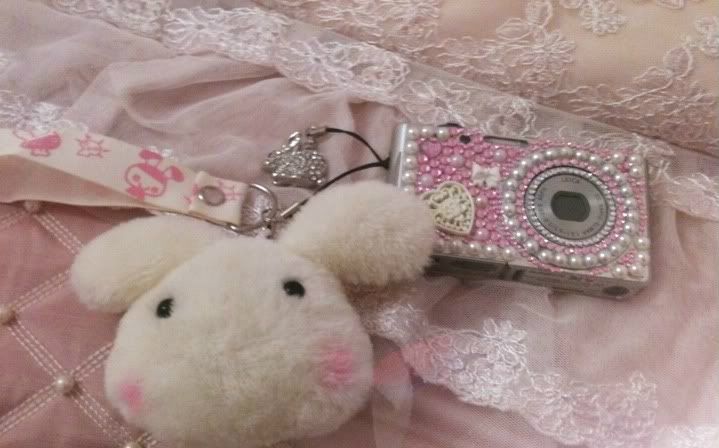
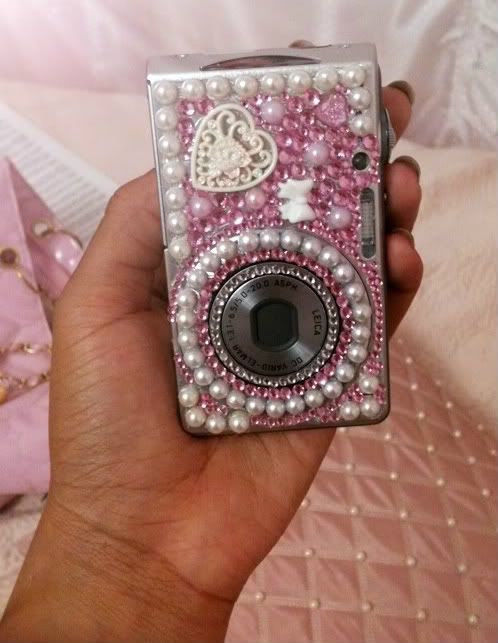
And now for my camera transformation~

The last few pictures are less-than-desirable in quality because my camera was not in a position to take photos of itself at the time, and so I made due with my phone >_>
Anyway, I hope that someone can find this post at least a bit interesting or helpful ^^
Related Posts Plugin for WordPress, Blogger...