Showing posts with label hime. Show all posts

Friday, July 27, 2012

DIY Hime Gyaru Lace/Ribbon Chokers

I like this picture ^^

Ohh tumblr, how I love thee :p
I always see such pretty things on tumblr, and I cant help but be inspired!

A few days ago I came across this post:
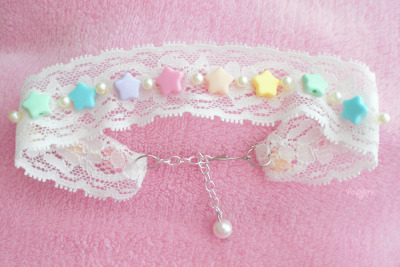
Original post here
It looks sooo simple, yet very cute!
Honestly, I can't believe that I hadn't thought of it before~
It just seems like a no-brainer!
The original photo is obviously fairy kei inspired, but mine will be hime gyaru inspired. It's just a matter of convenience, since most of my supplies are more applicable to hime styles~


You will need:
  • Flat lace ribbon (or any kind of ribbon, for that matter)
  • Jewelry jump rings
  • Jewelry closure/ clasp
  • Jewelry chain
  • Misc decorations

Retrieve a clasp and jump ring.

Loop the clasp through the jump ring.


Since the ribbon I'm using has loops, I looped the clasp through one of the pre-made holes >< If you're using lace, it's pretty much the same deal~


Retrieve a jump ring and a segment of jewelry chain.


Attach the chain in the same way that we attached the clasp~


Add pretty decorations ^^ I don't know what to say besides this x)


So.... yup ^^
 That was a super easy tutorial! Even so, I really like my results. I've worn both a few times, and nothing bad has happened to either of them. I hope you enjoy yours as well :)


OH, and thanks so much to everyone that participated in my poll! However, I wasn't sure how to go about giving tips since my room is already decorated >_>

So instead, I just made a quick tumblog of pretty rooms that I suppose you guys can use for inspiration xD. I figured that tumblr would be the best platform for this kind of thing because I can keep everything in one place ^^ I'll probably make a tab on my blog full of the same pictures for ease of access eventually...but tumblr is just so quick and easy x)


There are so many good ideas! I didn't actually look for inspiration before doing my room, but I certainly wish I had T_T

So, here's the link ^^ http://lovelycandyhome.tumblr.com/

One more thing:
My next tutorial is going to be extremely awesomely awesome. It's more of a fairy kei tutorial, but it's probably one of my favorites. I was debating whether or not I should release this post or that one this week, and I ended up releasing this one. I also have one about hime-fying your school stuff, but I have quite a bit of time to put that one out :)

Thursday, June 21, 2012

DIY Popular Hime Gyaru Double Bow Hair Accessory


Hey guys! I've been tumblr-ing most of my days away lately, and of course much of that was done to find inspiration for new tutorials. One of the trends that I found to be particularly common was the "double/triple bow" attached by pearl string. I figured "Hey, I can do that," and thus this tutorial was born.

Some example pictures, yes?


Almost all of them have one :O


I gathered most of my inspiration from the very last picture because it seemed to be one of the more simple designs :) If you want to see a tutorial that uses flowers and bow instead to make a similar accessory, check out this one from The Glass Princess. Hers is more floral-y and bling-y =P

You'll need:
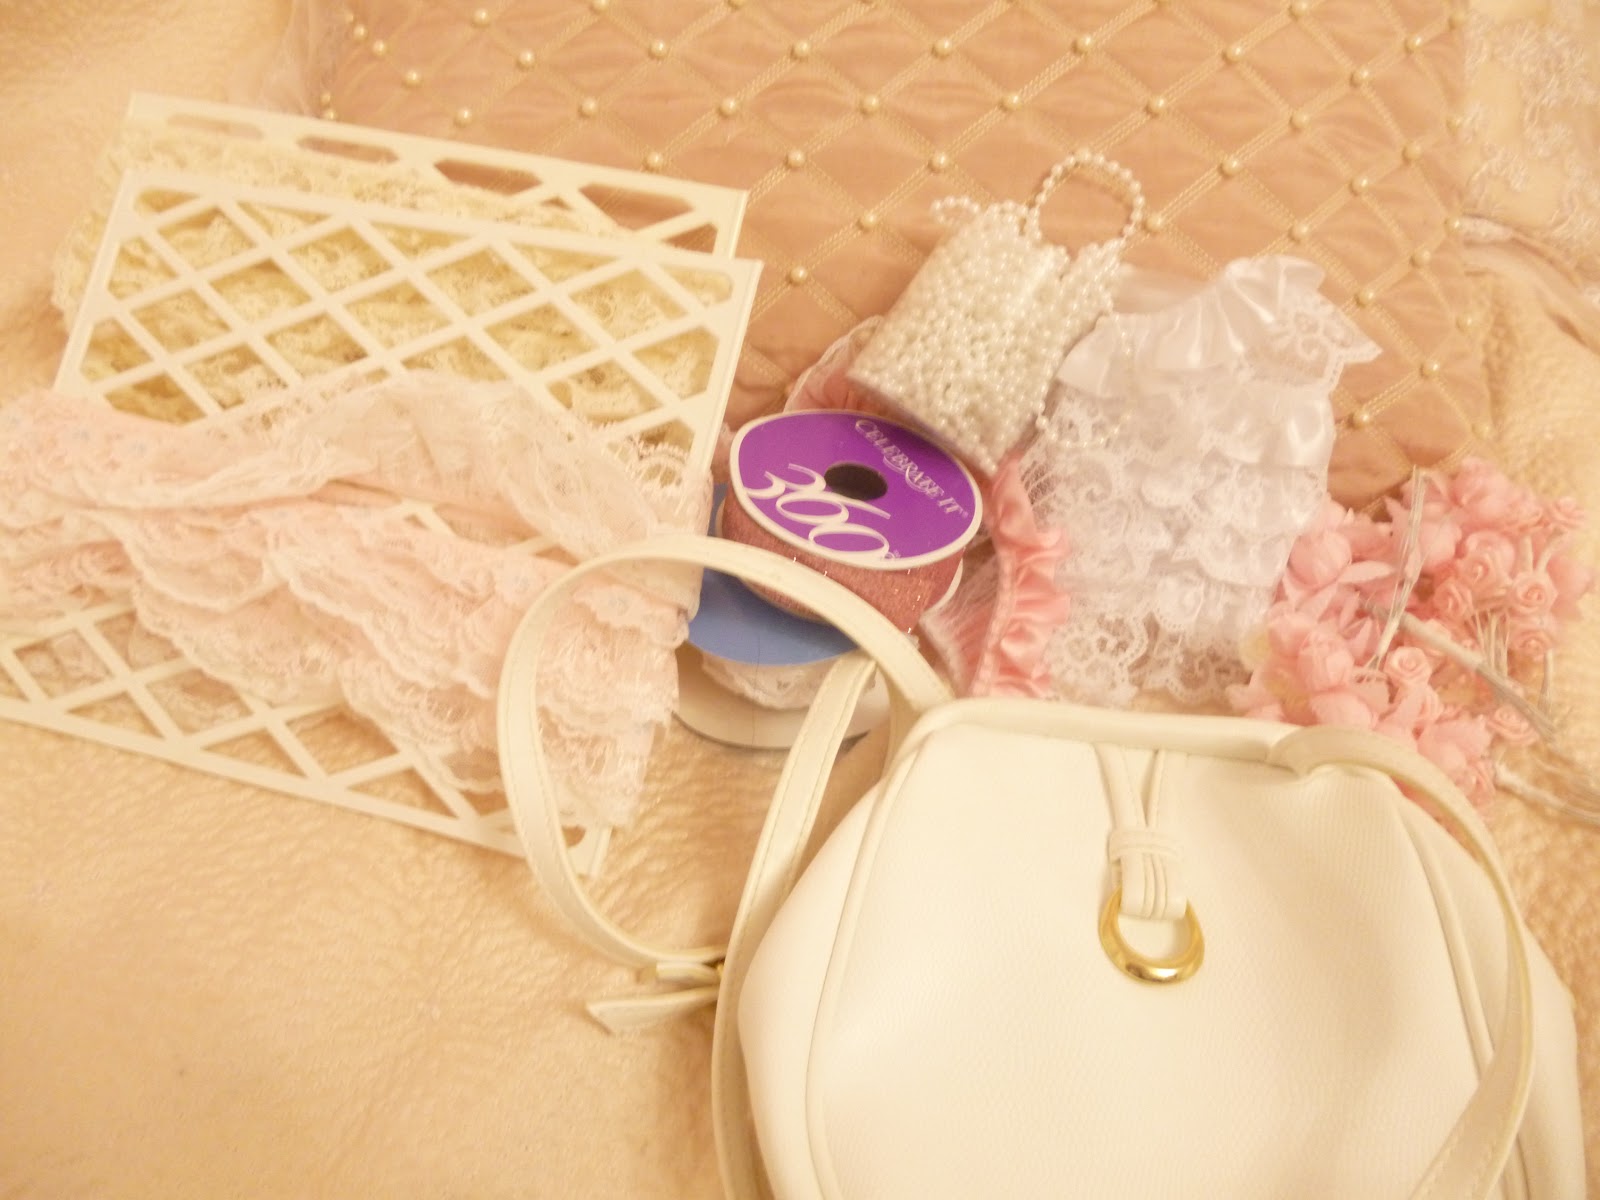
  • ...stuff. No, seriously. Whenever I take the picture for my "materials shot" I'm usually just throwing some things that I might use in a pile. I don't usually use them all. I'm not certain that anyone notices X)
  • Material for making a large bow
  • A large flower
  • Wide ribbon for making a smaller bow
  • A button for the centerpiece of the small bow
  • Bobby pins
  • Bead string (or in my case, an old bracelet)


Start by making your "large bow." Nothing fancy here~ we all know how to do this :) I don't have size recommendations...I just eyeballed it. Think about what size you feel will be practical to wear on your own head. If you don't have huge Himena Osaki hair, then you'll probably want a smaller bow than she has to avoid looking off balance X)


Add lace trim and a flower centerpiece.


After re-referencing the photo, I noticed the lace trim in the center ><, so I added that as well.


This is a bracelet that I don't wear. The random letter doesn't make much sense, and obviously has no place on our bow.


...so I just put a smaller bow over it xD


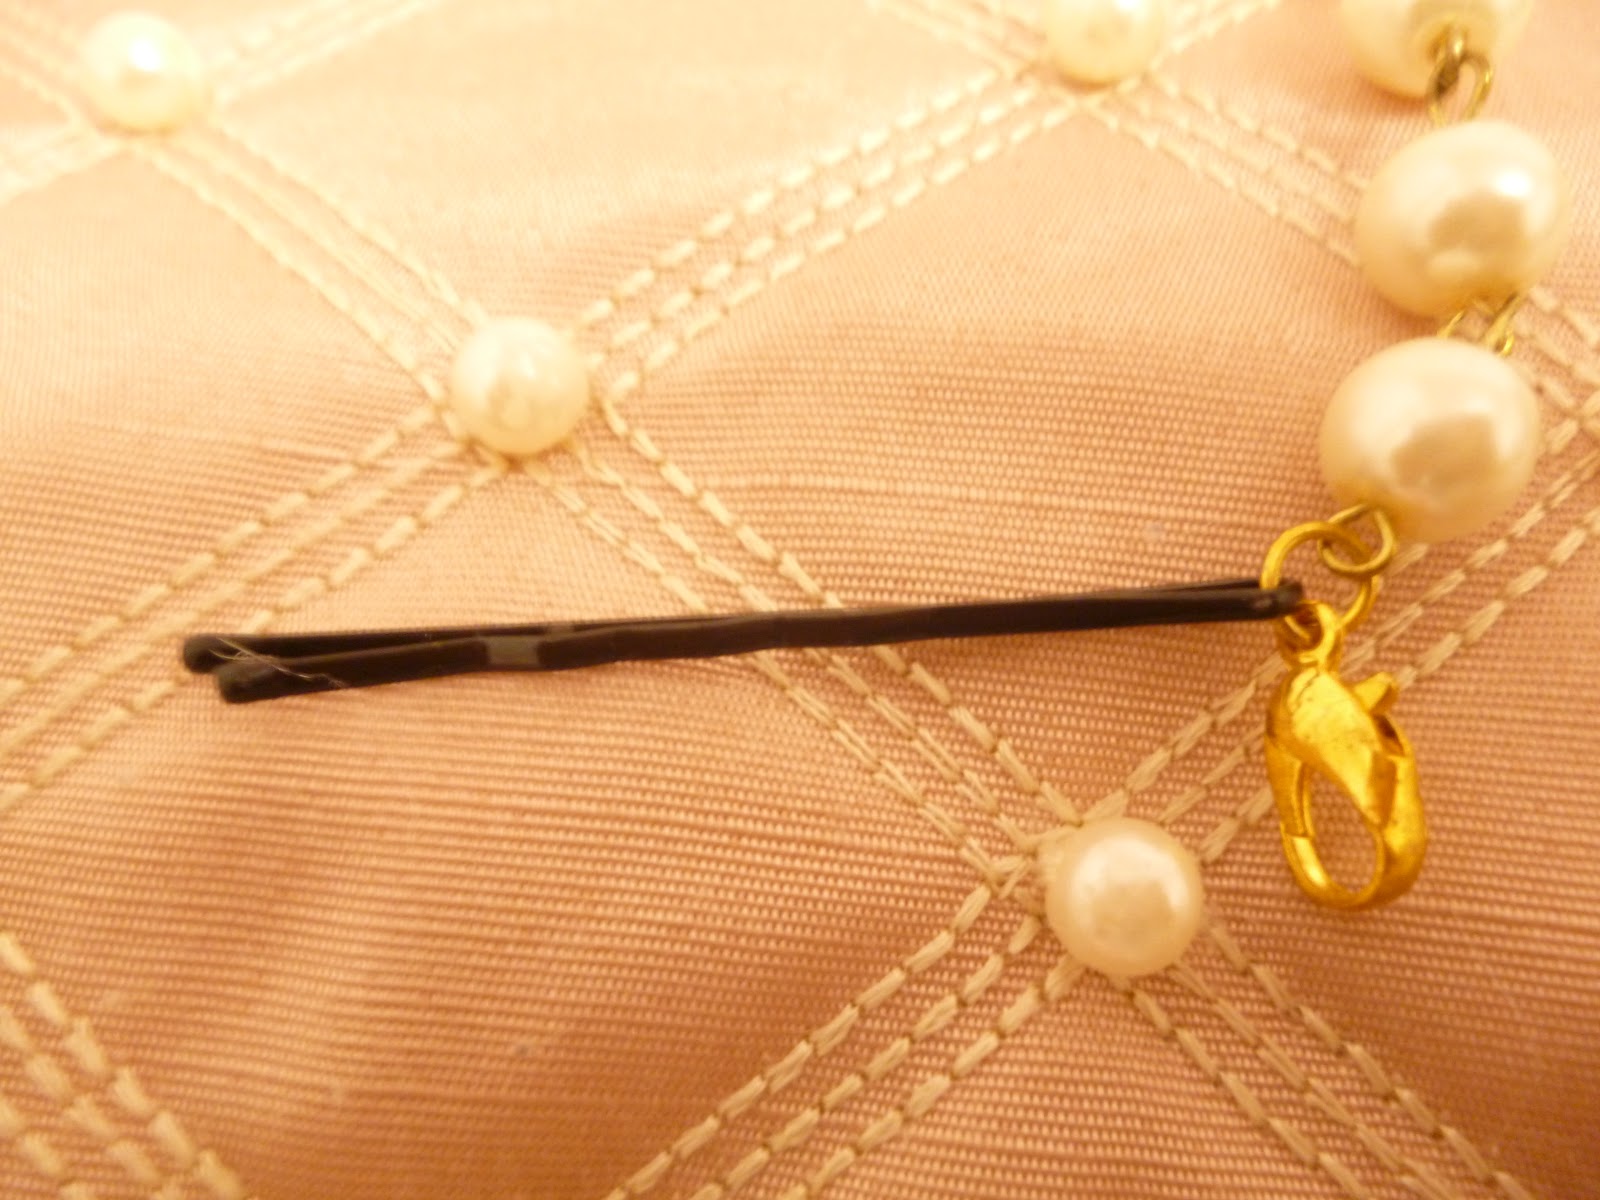
I just slipped the end of the bracelet through a bobby pin, because I will probably want to wear the bow individually at some point (rather than attached to another bow).


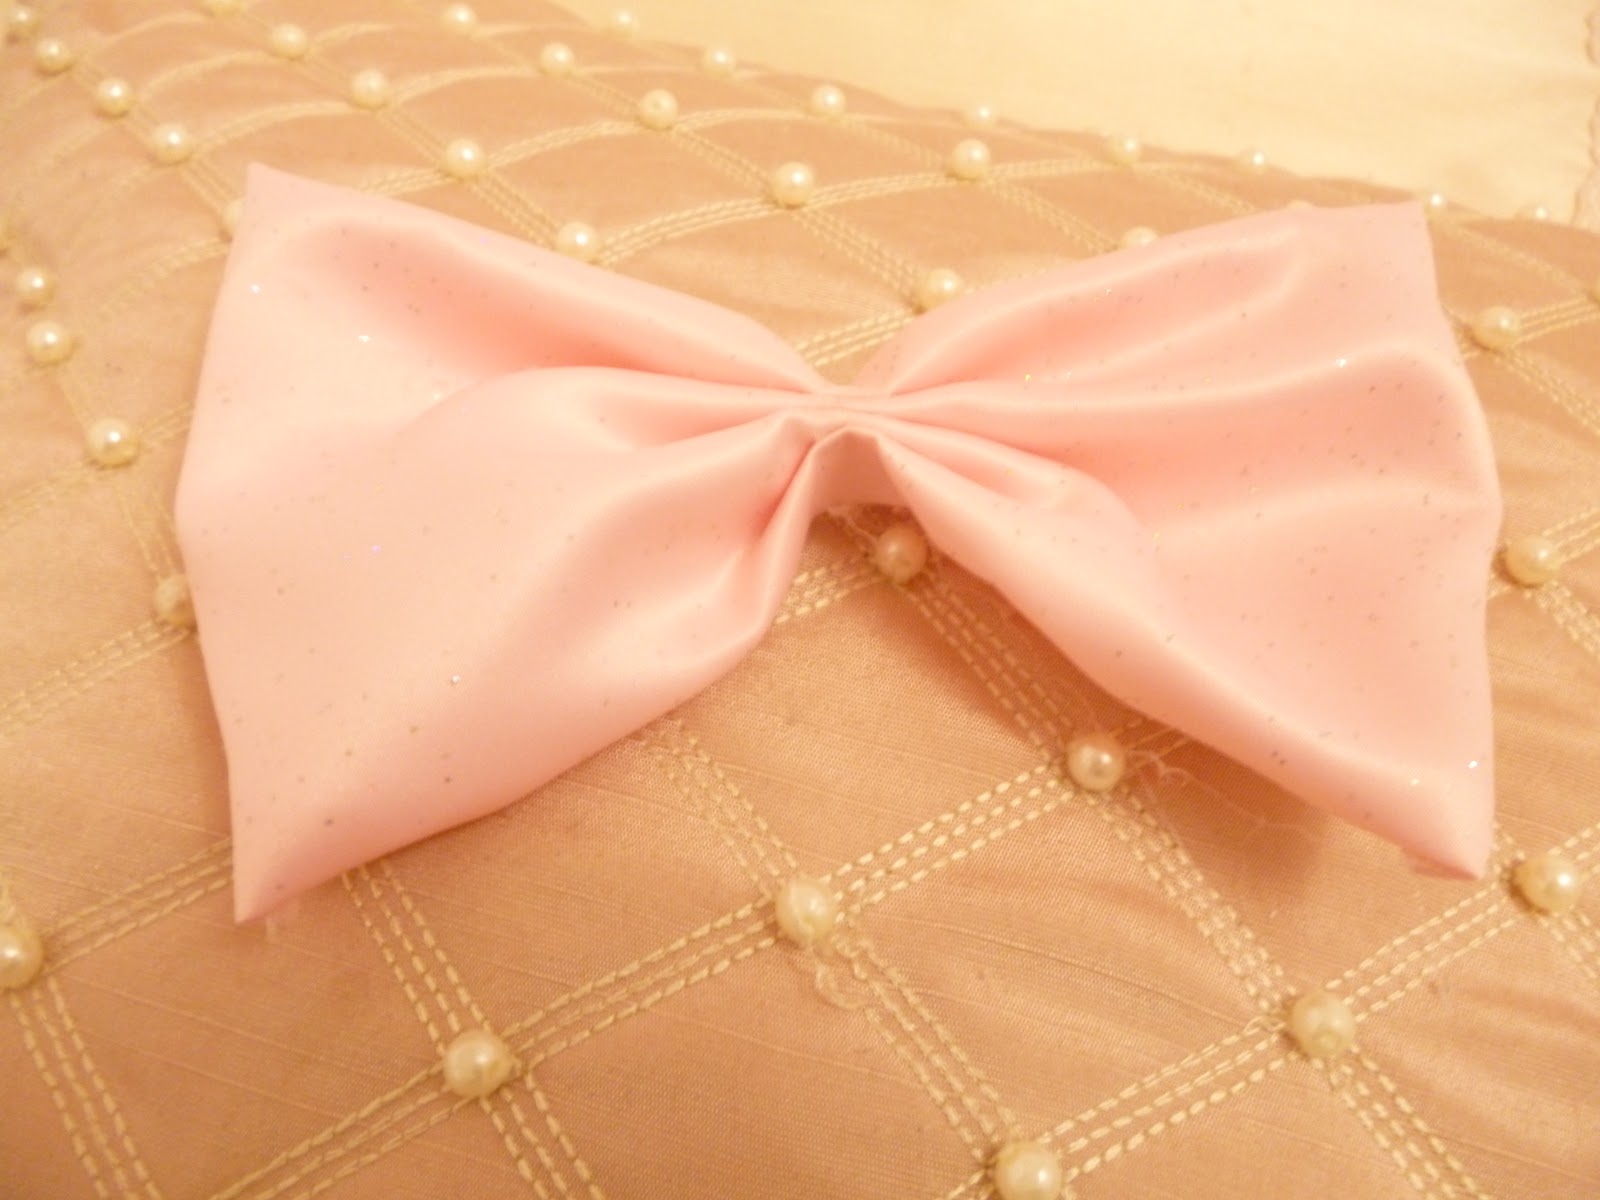
Make a smaller bow with wide ribbon, and place a button in the middle as the centerpiece.


I'm using the same method of attachment for the smaller bobby pin.


Attach the bobby pins to the bows and you're set :)

Hope you guys enjoyed this tutorial ^^~


Friday, June 8, 2012

DIY Hime Gyaru Heart-Shaped Handbag

Hey everyone ^^

I know that I posted a handbag tutorial last month, so it's kind of soon to be posting one so quickly. Nonetheless, I hope that someone enjoys it :) This tutorial is actually extremely short, as it was very easy to do.

I saw this handbag on Tumblr and thought to try emulating the style. BTW if you guys can read the small print, I'd love to know whose blog this came from! XP

EDIT: I saw in a recent post that The Glass Princess owns this bag ^^ Check out her post! The bag is way prettier than I'm allowing it to look on MY post, so that mine doesn't look awful in comparison X)


You will need:
  • At least 2 different colors of lace trim
  • A round handbag
  • Floral pieces
  • Pretty material (to make a bow)
  • 1/4" ribbon

For the first step, I used pink lace trim to make an "outline" of the heart shape that I'm pursuing. This was kind of difficult T_T

Next, I used a white lace trim to outline the inside shape of the heart, thus making it look a bit more refined in shape.


Cut a piece of material to be used as a bow. Size is relative to the size of your bag.

The previous shot didn't capture the sparkle on the fabric as much as I'd have liked, so I'm including this one as well ><

Attach your bow to the center of the purse.

Use floral pieces to fill in the remaining empty space and as a centerpiece for the bow.


That's all ^^ not much detail in this post, but I wasn't sure how to be more specific X) I felt like it was so self-explanatory. My end result really doesn't have anything in common with the original with the exception of the shape. ><

My purse collection is starting to look like a decoration!! @_@

If you have a request for a certain tutorial or from a picture, you can tweet me @magicpearlheart or leave it in the comments. I'll try my best to try it out and make a post :)

Friday, June 1, 2012

DIY Hime Flower Crown/Heaband


Today's post is awesome because it was a request :)
Monica made a suggestion for a flower crown, and I thought it would be something that I would be able to do. Stay tuned ^^~
You will need:
  • Garden wire
  • A material that wont clash with your flower colors
  • Flowers with individual "stems"
  • 1/4" ribbon in a color that matches your theme
  • Hot glue

When I said that you will need flowers with individual stems, this is what I meant. Each flower is separate.


Use wire cutters to cut a piece of the garden wire to your desired length. Just a tip: Smaller crowns often look a bit cuter :)
Then, cut a strip of fabric (1"-2" wide). You can use one looong strip or several strips of medium lengths. It doesn't really matter...I promise ^^

Bend your wire into a relatively circular shape.

Wrap your material around the wire, and use a bit of hot glue every few wraps.


Wrap the stem of a single flower around the band of the crown.
Repeat this step while starting a pattern that will be maintained throughout the headband.

Lastly, tightly wrap your ribbon around the "stems" of the flowers, using hot glue to secure.

Now you're done ^^ Enjoy your crown~

Friday, May 25, 2012

DIY Himena Osaki Inspired Hair Accessory


While reading Mana's Lost in Inspiration post, I was instantly inspired by one of the pictures that she posted.

I was inspired by this picture of Himena Osaki
My eye was drawn instantly to her hair accessory, even though the dress is obviously supposed to be the focal point of the image X)

Okay then, let's get started ^^


You will need:
  • Lace trim
  • Pretty material (to make a small bow)
  • Cardboard
  • Scissors
  • Hot Glue
  • Yarn
  • Mini Plush (optional/substitutable)
Trace the shape of a small circle onto your piece of cardboard. Looks familiar right? ...maybe. It depends on how familiar you are with my previous materials. But since I've already covered the next few steps in a previous post, I'll just link it here.

Follow the instructions on the linked post until the point where you have a yarn-covered piece of cardboard

Make a small bow with your material (it doesn't have to look as pathetic as mine). Size is up to you. I rarely measure anything, which is why I haven't offered any example measurements for this post ><

Cut a piece of lace trim that will be able to surround your yarn-covered cardboard piece.

Use hot glue to attach your lace trim.

...and the bow.

I'm going to use this little guy as my centerpiece ^^. Himena's accessory has a rabbit, but I'm obviously improvising.

Attach your centerpiece.

Oh, and speaking of improvisation, it's not absolutely necessary to use an animal. The only requirement is that it must be pretty =P

Last step, add a bobby pin. Normally, I would have used a snap clip. However, this seemed like a better idea to use on an accessory that would eventually be attached to a ponytail (or is it just me? Whenever I use snap clips on a ponytail they always come undone because of the curvature.)

That's all, I hope everyone enjoyed this post ^^


Oh, and if you have an inspiration picture that you would like me to copy an accessory from, you can tweet me @magicpearlheart ^^~
Related Posts Plugin for WordPress, Blogger...