Soo...
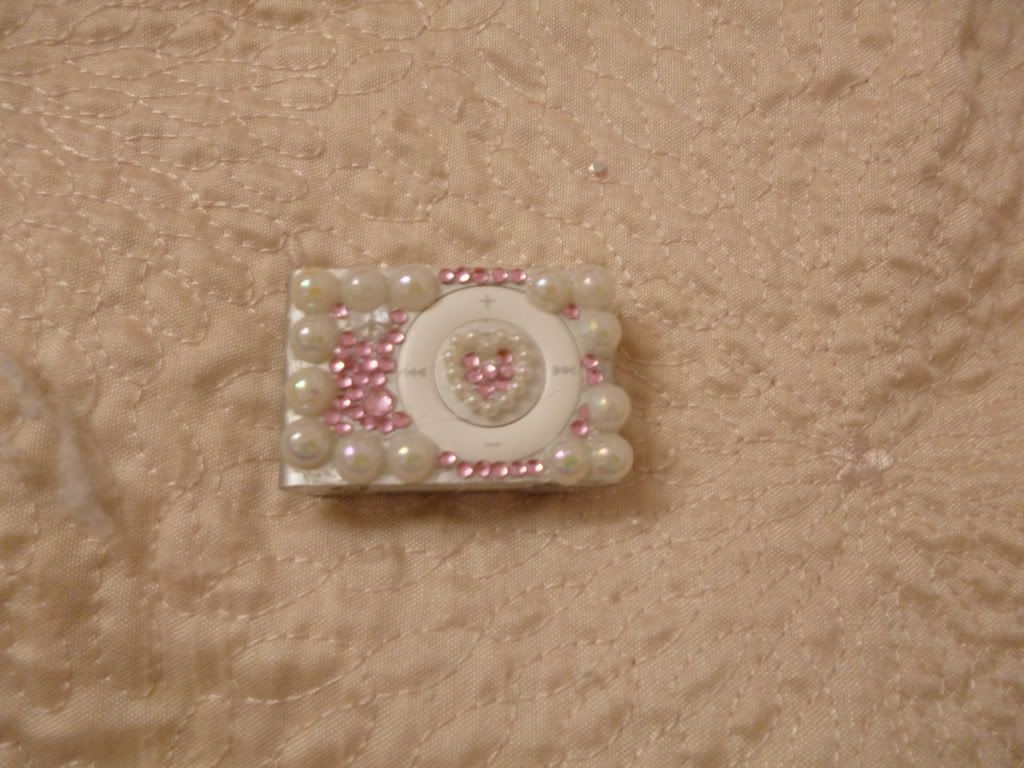
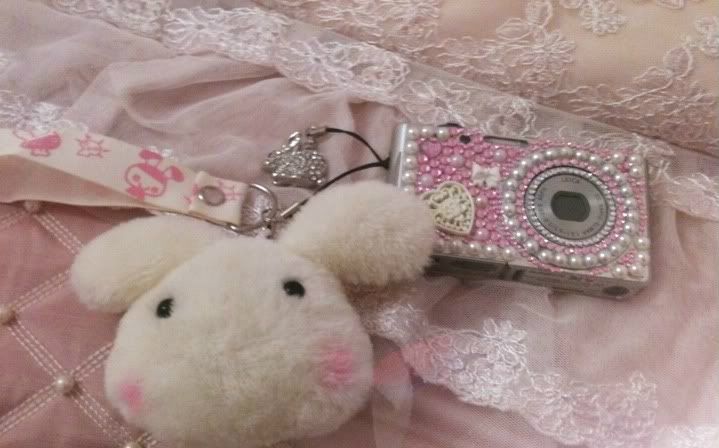
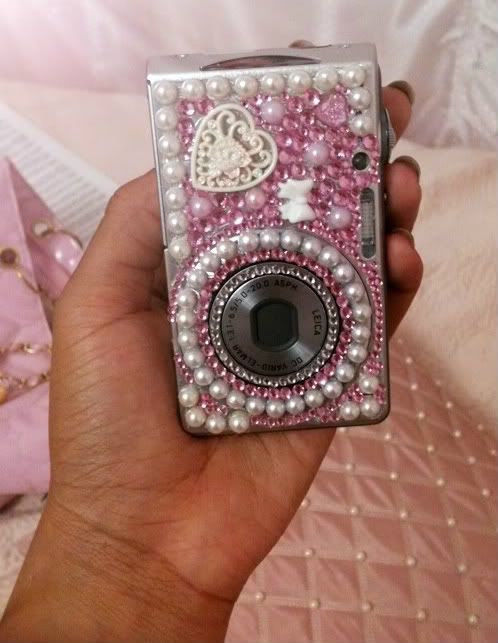
I decorated it.
Okayokayokay I know, not the best work. I wasn't very happy with it either =/ But there are so many other uses for this that won't necessitate having it look pretty...I'll get to that later.
Right now I'm just going to give a quick breakdown on how I usually deco my things.

Select whatever you wish to deco and wipe it off with alcohol. Seriously, you may think you can skip this step...but that comes with the risk of dust being trapped under your glue which will make your pieces adhere to the surface poorly (Actually, I rarely do this step myself. I remain unconvinced that there is a significant difference whether I use alcohol or not. However, my luck is not your luck. I'd feel bad if I told you to skip this step and your decorations fell off T_T).
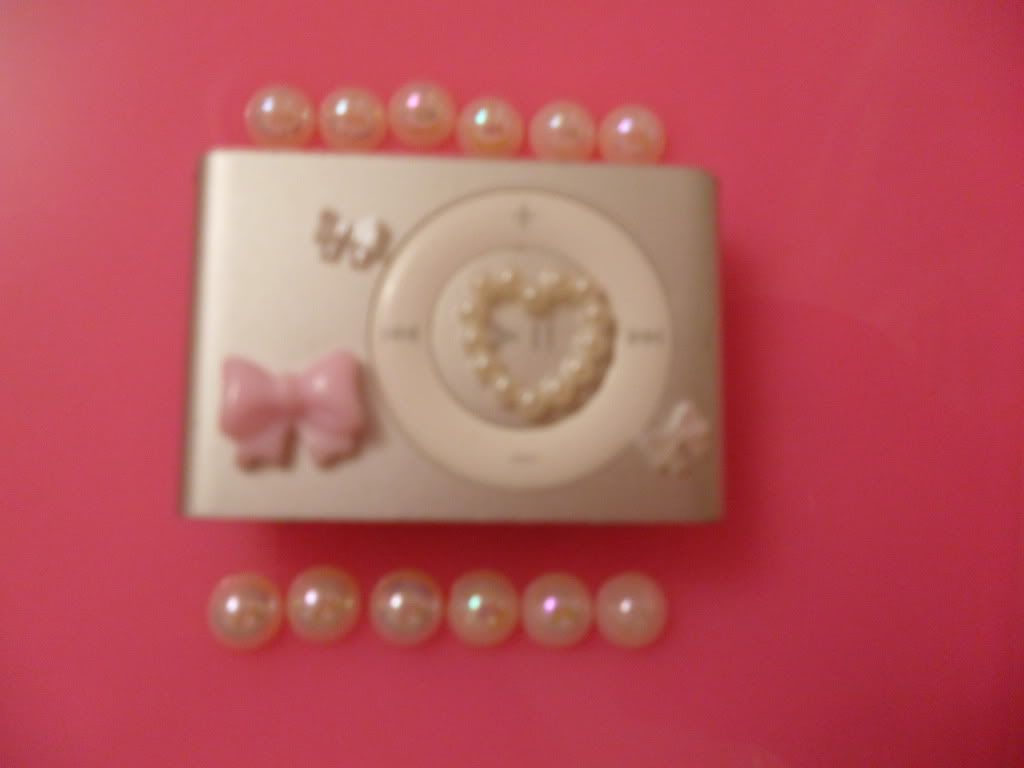
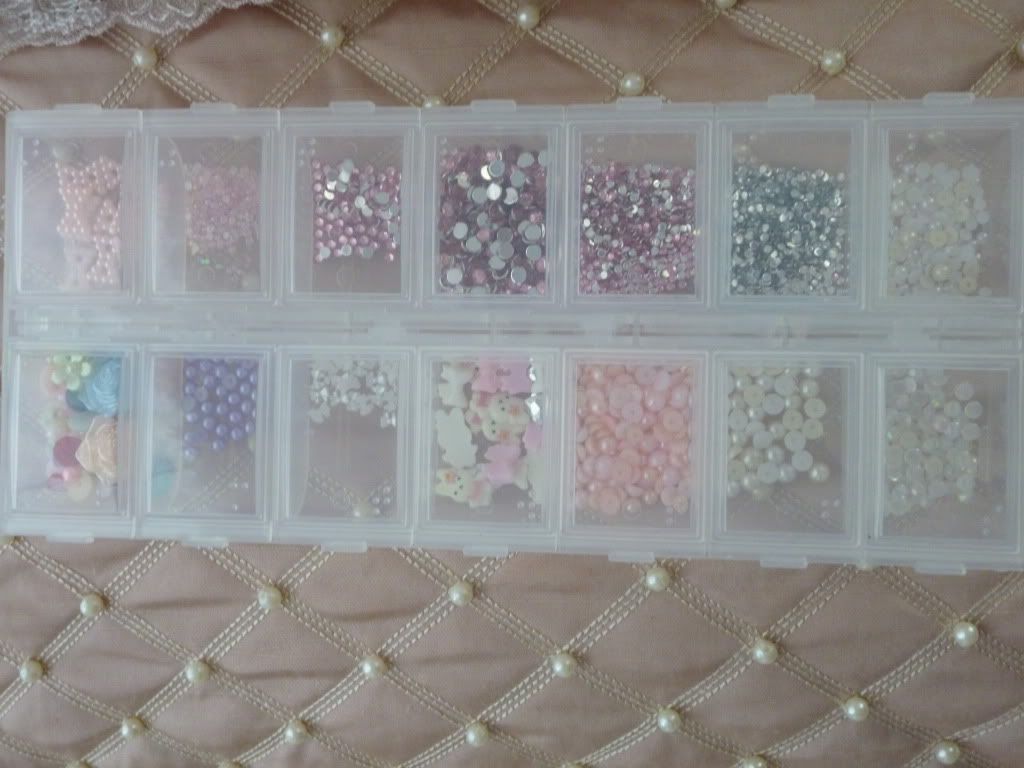
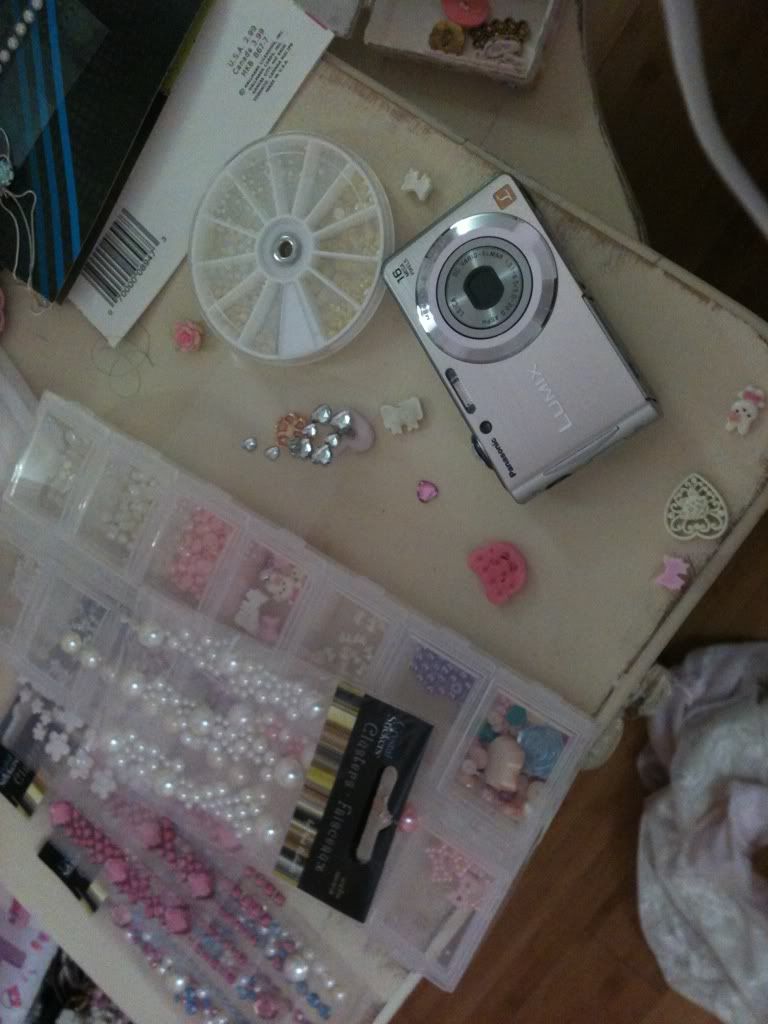
Set out all significant pieces on or around your iPod. In this step, you at least want to have out your border and larger pieces.

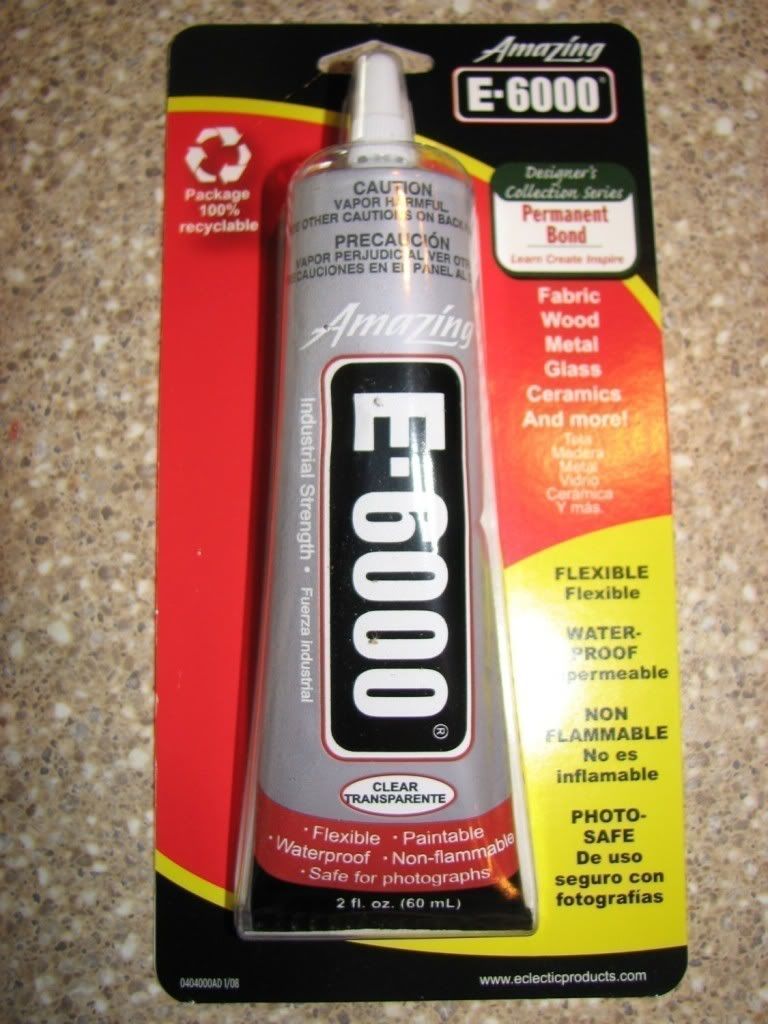
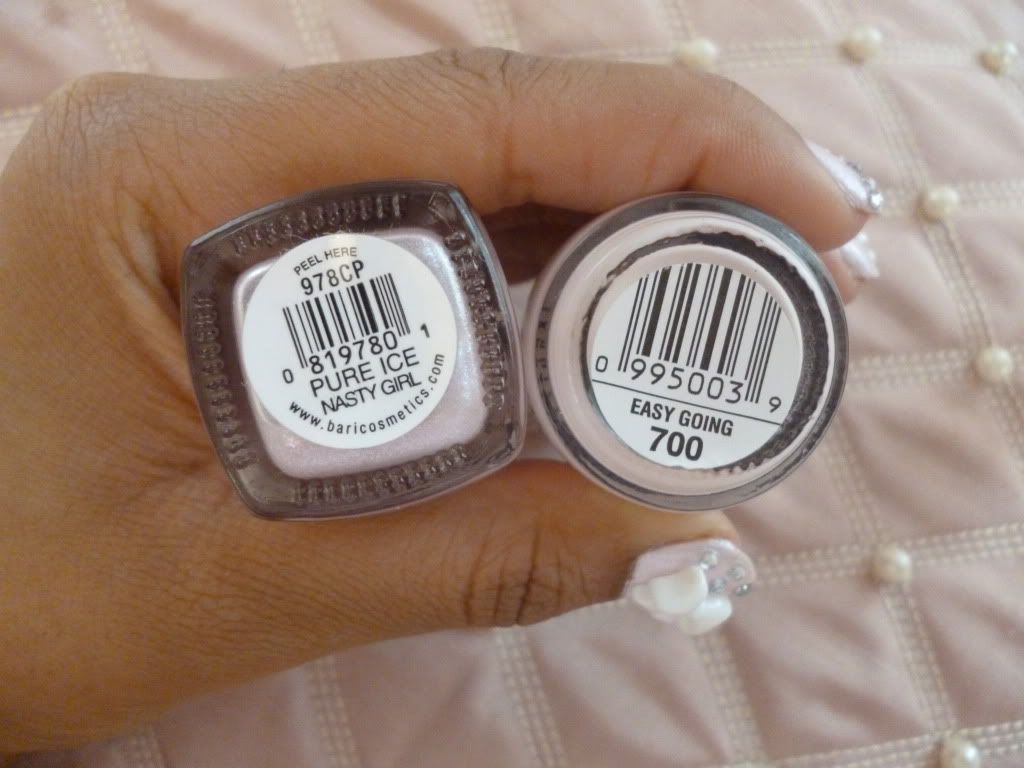
Spread some of your glue (I always recommend using E6000 for everything!) over a small surface. Begin placing your border pieces around the edges of your iPod. I always glue the outside border first so that I can be sure that the pieces that I put inside will not interfere with how the border turns out. After all, the border is the only part of this that needs to be pretty neat. Anything else I can always move around to suit the configuration.
After finishing the border, you can fill in the spaces with your other pieces and just finish up. Hopefully yours will have turned out better than mine. As you can see,my pink bow no longer fit after I had finished my border T_T
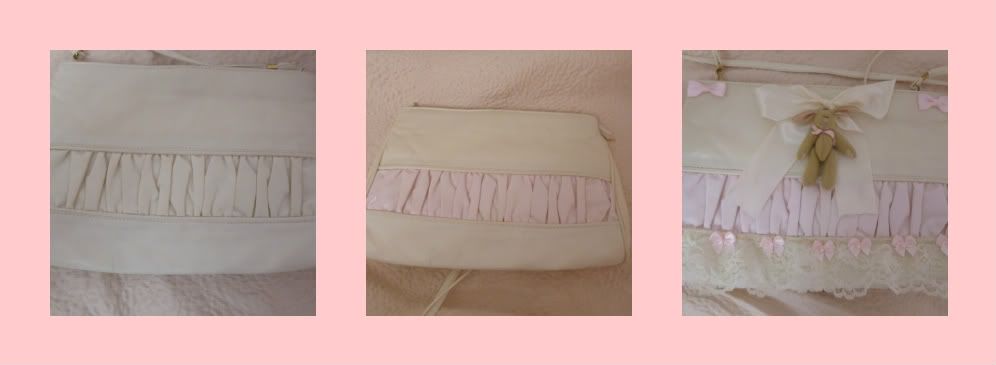
Luckily, there's other uses for things like this such as....
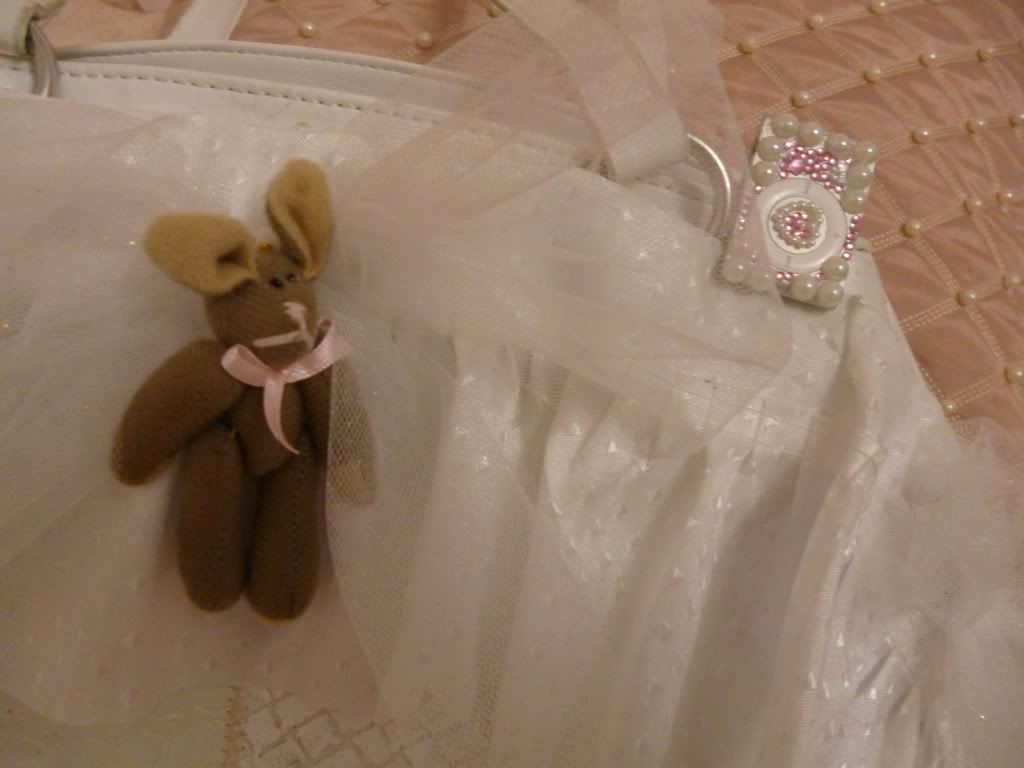
Purse accessory....
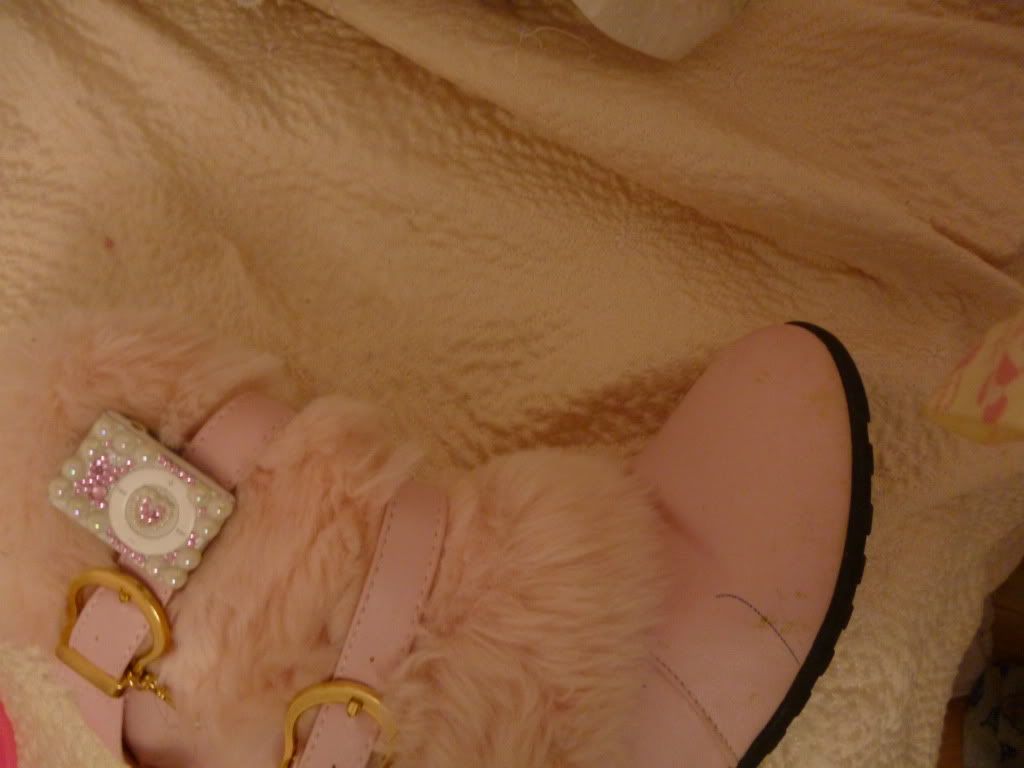
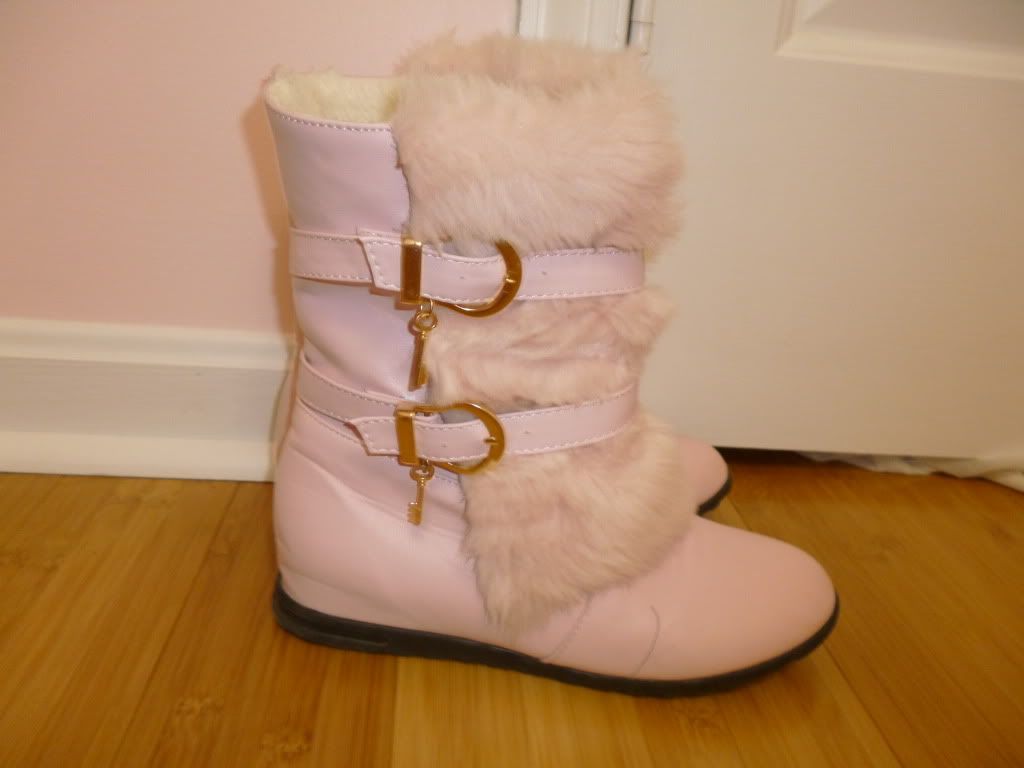
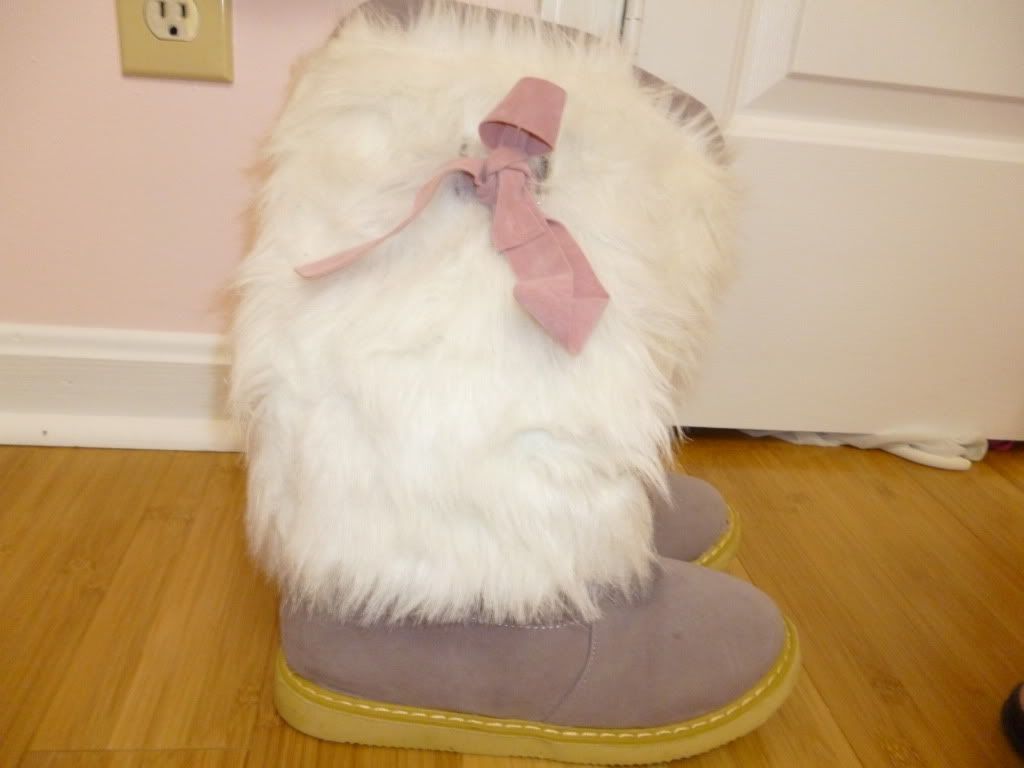
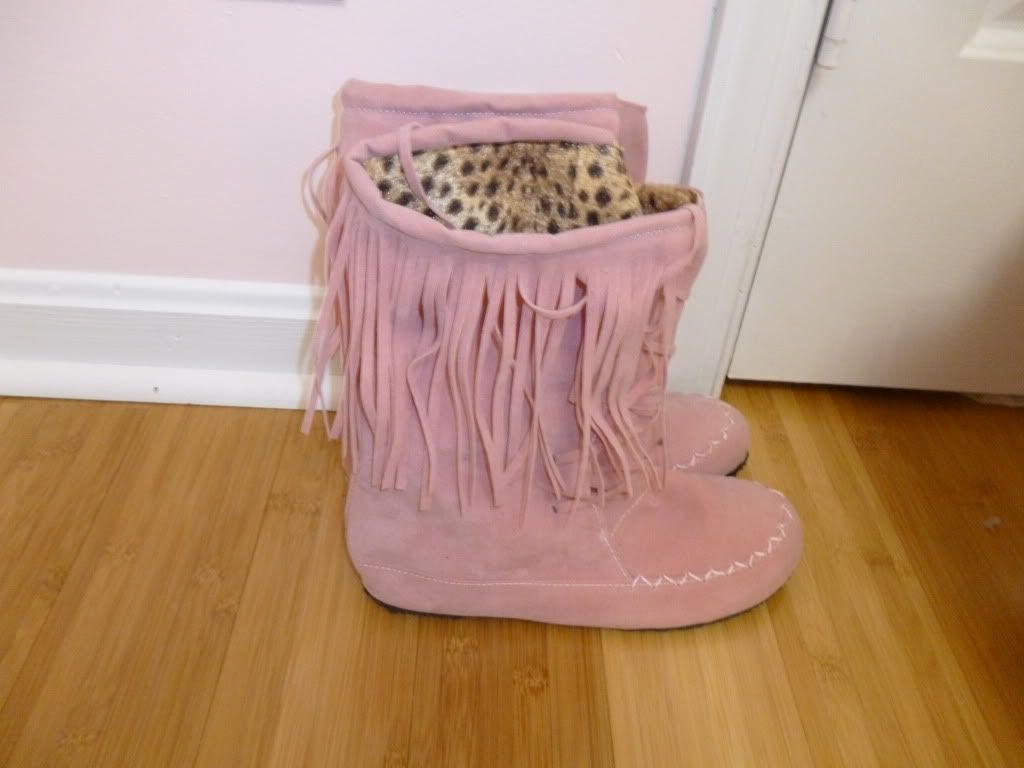
Shoe accessory...
And so much more~
Just joking >_>
Happy deco-ing!