Showing posts with label Nail art. Show all posts

Saturday, December 22, 2012

Dainty "Shooting Star" Nail Tutorial


Hey everyone! So... after I went through the photos I had taken for this tutorial, I realized that I really screwed things up as far as lighting goes T_T

You see, I usually make tutorials early in the morning when the natural lighting is best. If I make them between about 1pm and 4pm, it'll be fine, but I'll need to turn up the white balance in my settings.

I began this tutorial early in the morning when lighting was fantastic, but I ended up doing most of the steps later. Unfortunately, I forgot to turn up the white balance, so the pictures are just awful X_X. 

Here's the tutorial anyway. From now on, please just expect my tutorials to be extremely underwhelming. That way, I won't feel like I'm disappointing anyone x)


For this tutorial, you will need:
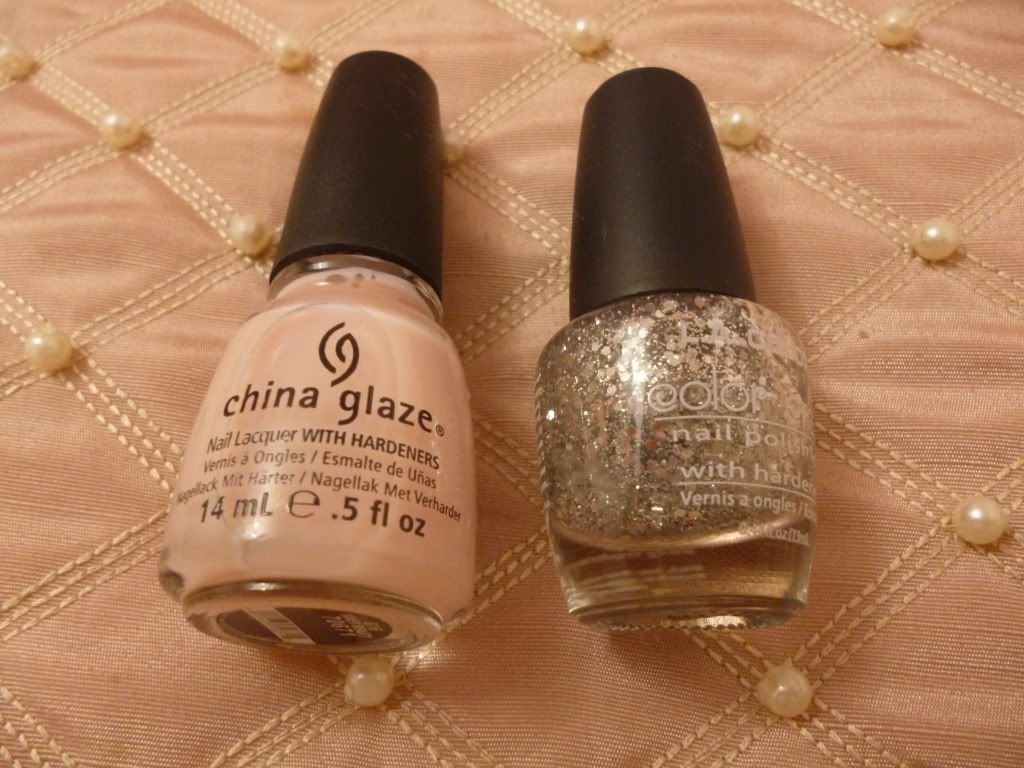
  • A pink "jelly" polish (Jelly polishes work best for gradation. I'm using Orly- Lift the Veil)
  • Holographic stars
  • Clear or white caviar beads
  • Flatback rhinestones (different sizes optional)
  • Nail set
  • Tweezers (or other rhinestone placing tool)

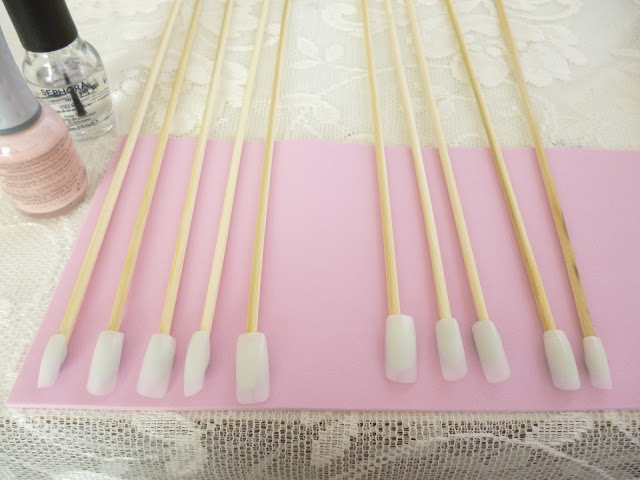
 Step 1: Spread out your canvas.
I find that using poster putty to secure the nails to my work surface works fantastically.

*sigh*

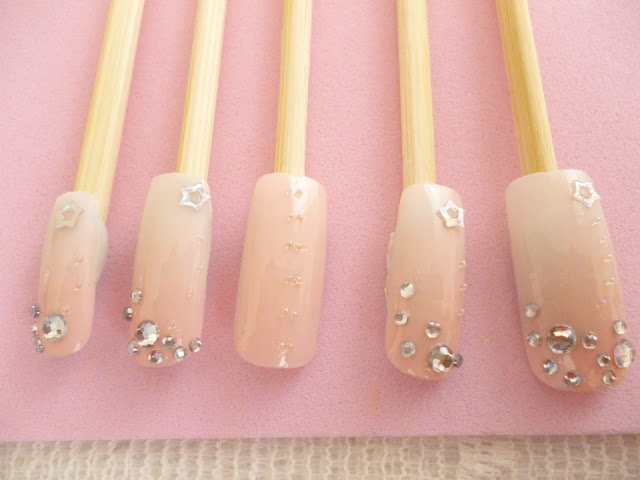
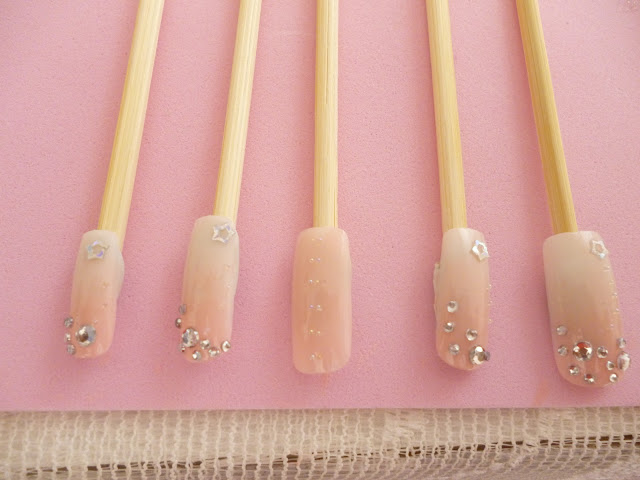
For this tutorial, I really wanted my nails to have a gradient look to them. On the left hand, four of the nails have a gradient look, and the middle is solid color. On the right hand, I did the opposite. All of the nails are solid with the exception of the middle finger, which is gradated. 

I assume that everyone knows how to do this, so I didn't bother with a polish tutorial.


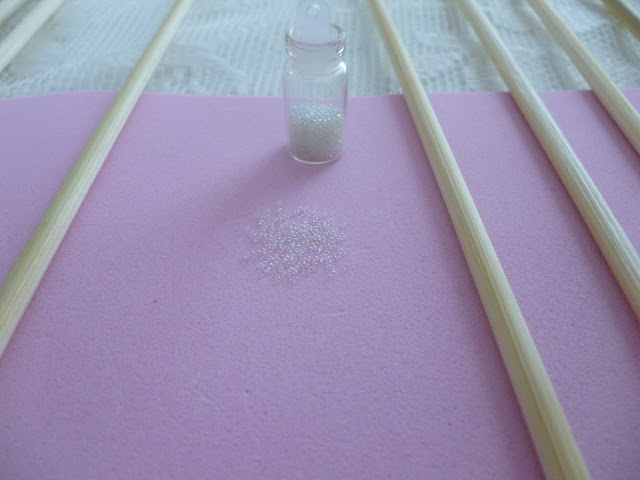
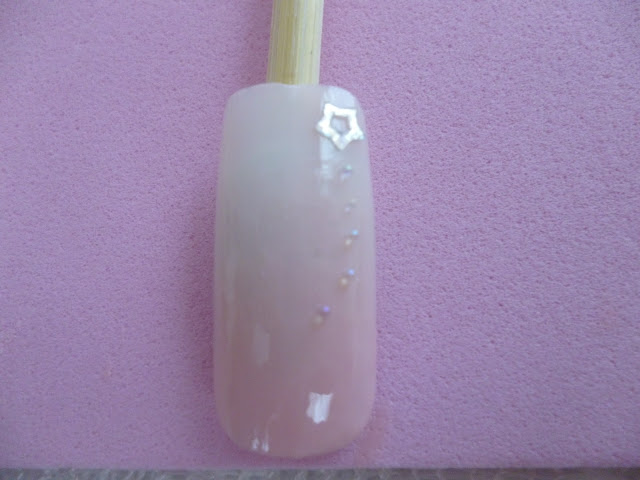
Next, use the holographic stars and caviar beads to make the "shooting star" pattern shown above. For my own set of nails, I used this design on all of my gradated nails and used a different design for the solid color nails.You may do this for all of the nails if you'd like.


Next, I'm adding some mid-sized rhinestones to the base of every nail with the shooting star pattern.


Place smaller rhinestones at the base of the nail sporadically.


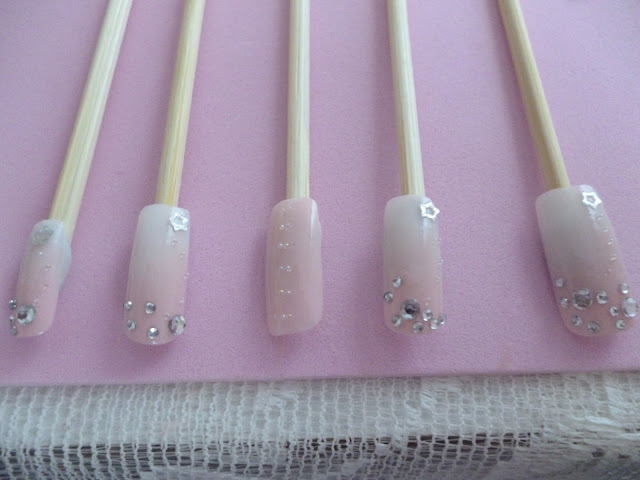
Use caviar beads to create interesting patterns on the remaining solid pink nails. 
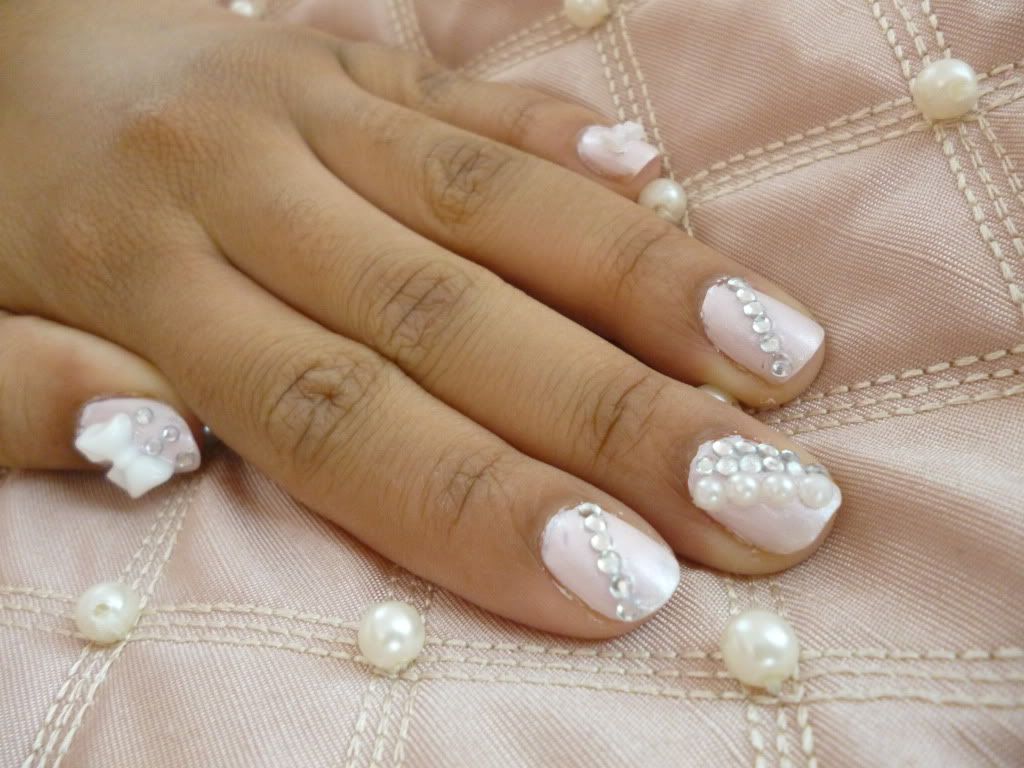


All done ^^.

I'm a little rusty when it comes to nail art, so give me a little bit of slack when it comes to these tutorials ><.

Know what? This would look even better on black polish. If you do this tutorial on black nails, send me a picture and I'll post it here :)

*Make sure to use a sheer or jelly polish!*


Sunday, May 20, 2012

DIY Hime Gyaru Deco Nail Art


I hadn't made a nail set in a long time (and I still have a few that I haven't worn), so I decided to make use of my free time and make a new one.

Materials:
  • Deco nail pieces (pearls, rhinestones, etc)
  • Toothpicks (for placing pieces onto nail)
  • Clear polish and color polish
  • False nails
I'll also be using Wet n Wild megalast polish in "Sugar Coat"
By the way, it's okay to use a cheaper polish when painting on false nails. False nails are smoother (so there's rarely any streaking with any polish) and more evenly colored (so fewer coats are necessary).


To keep the nail set in place while I'm decorating, I just attach a few pieces of tape to the table.

Paint the sizes of nails that you expect to use (As seen in the photo, I did not paint the largest nail because I know from experience that it's too big for me). Set out the largest deco pieces that you expect to use.


Brush a bit of clear polish onto the tip of a toothpick and use it to pick up and place the large pieces onto wet nails. If too much time has passed and the nails are no longer wet, just brush some of the clear polish onto the surface of the nails before placement.


Next, use smaller rhinestones (or pearls) to add complexity. There's no real "formula" for this part, it just takes a bit of creativity to make up an arrangement. I can offer examples but I don't actually have any helpful advice xD (sorry).

The last nail had me at a loss, so I just made a "flower" with a large pearl as the center and small pink rhinestones as the petals.

That's it ^^ Have fun flaunting your deco nails~

Wednesday, April 11, 2012

NOTD: Magic Sparkle Ribbon

I love using sparkles in nail art. I think that nails are the best place to incorporate sparkles and glitter into one's appearance. It's just so subtle and pretty ^^


Colors Used:

  • China Glaze - Inner Beauty
  • L.A. Colors - (No color name...the sparkly one =P )


Tuesday, March 13, 2012

NOTD: Understated Hime Gyaru Nail Art

I love nail art, and I must admit that I'm a secret fan of gyaru nails. However, I'm not really an OTT type person, so it makes sense for me to tone down anything that I gather inspiration from =P

Colors used:
  • Sinful Colors- Easy Going
  • Pure Ice- Nasty Girl
Related Posts Plugin for WordPress, Blogger...