Friday, May 25, 2012

DIY Himena Osaki Inspired Hair Accessory


While reading Mana's Lost in Inspiration post, I was instantly inspired by one of the pictures that she posted.

I was inspired by this picture of Himena Osaki
My eye was drawn instantly to her hair accessory, even though the dress is obviously supposed to be the focal point of the image X)

Okay then, let's get started ^^


You will need:
  • Lace trim
  • Pretty material (to make a small bow)
  • Cardboard
  • Scissors
  • Hot Glue
  • Yarn
  • Mini Plush (optional/substitutable)
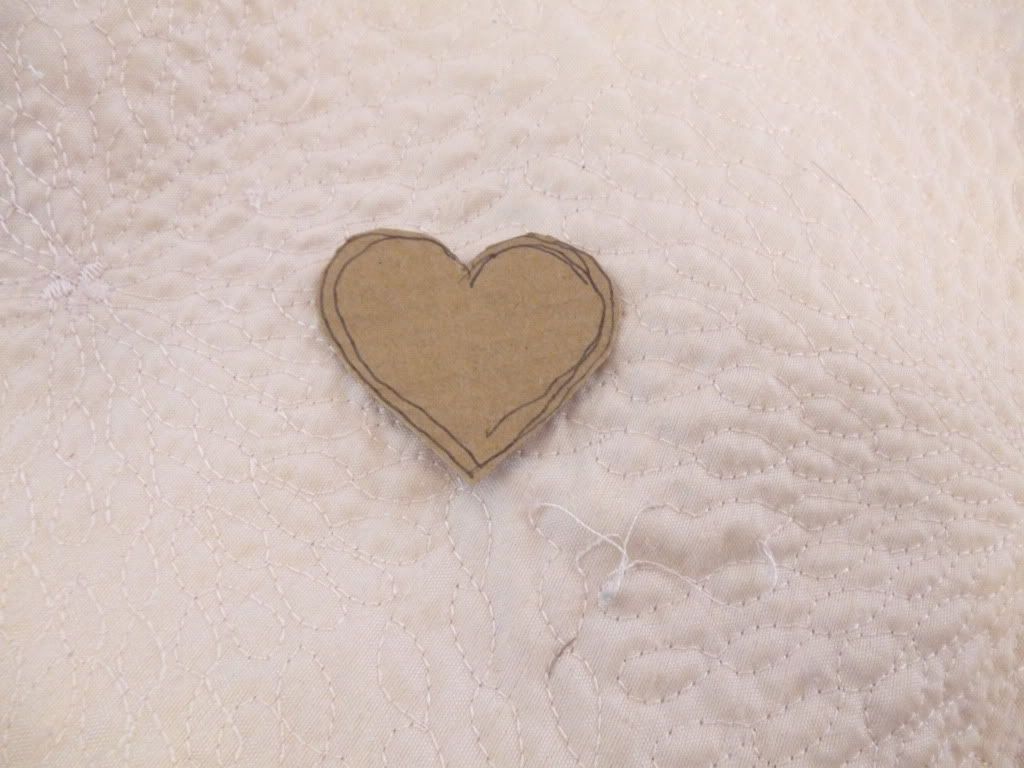
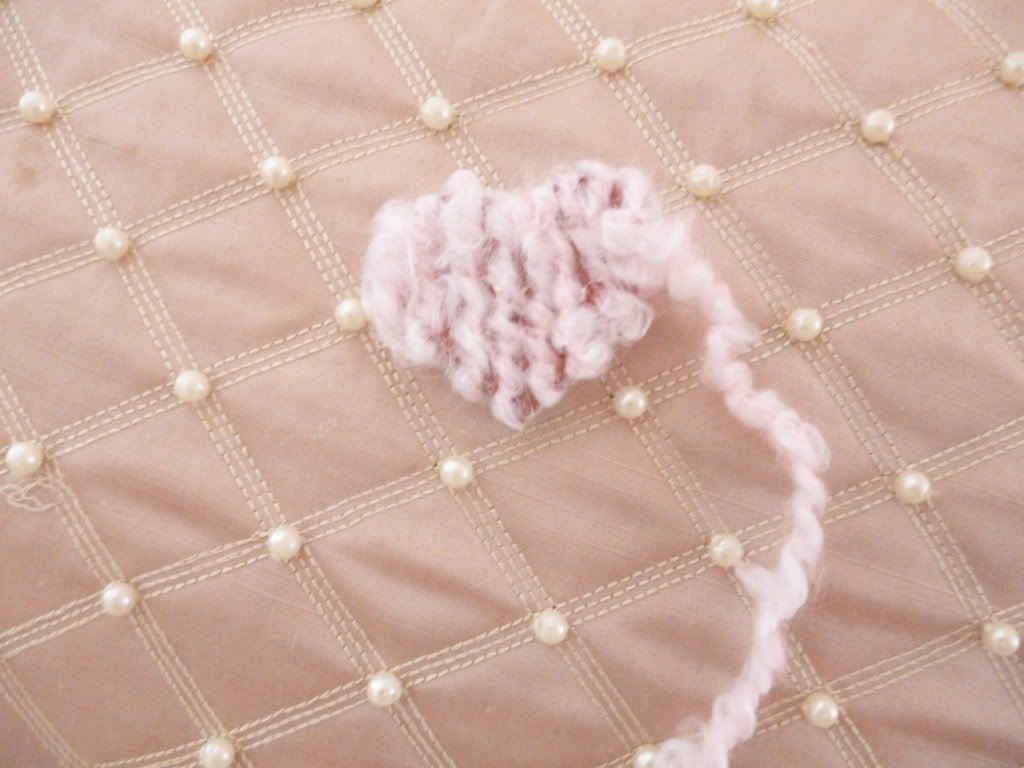
Trace the shape of a small circle onto your piece of cardboard. Looks familiar right? ...maybe. It depends on how familiar you are with my previous materials. But since I've already covered the next few steps in a previous post, I'll just link it here.

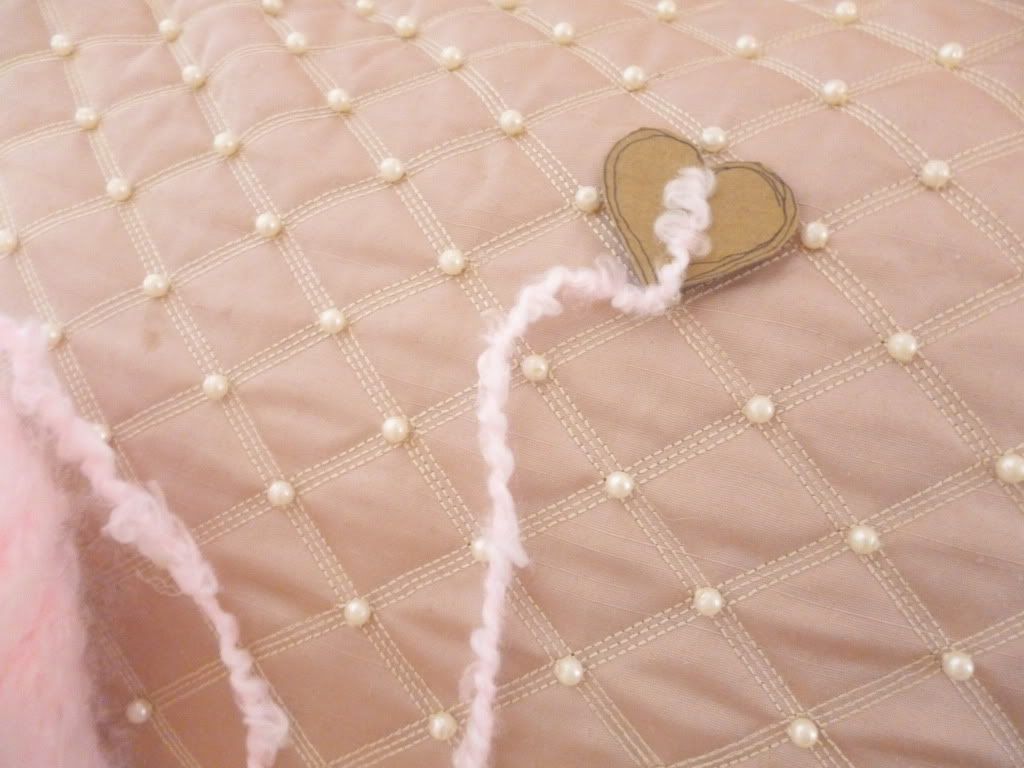
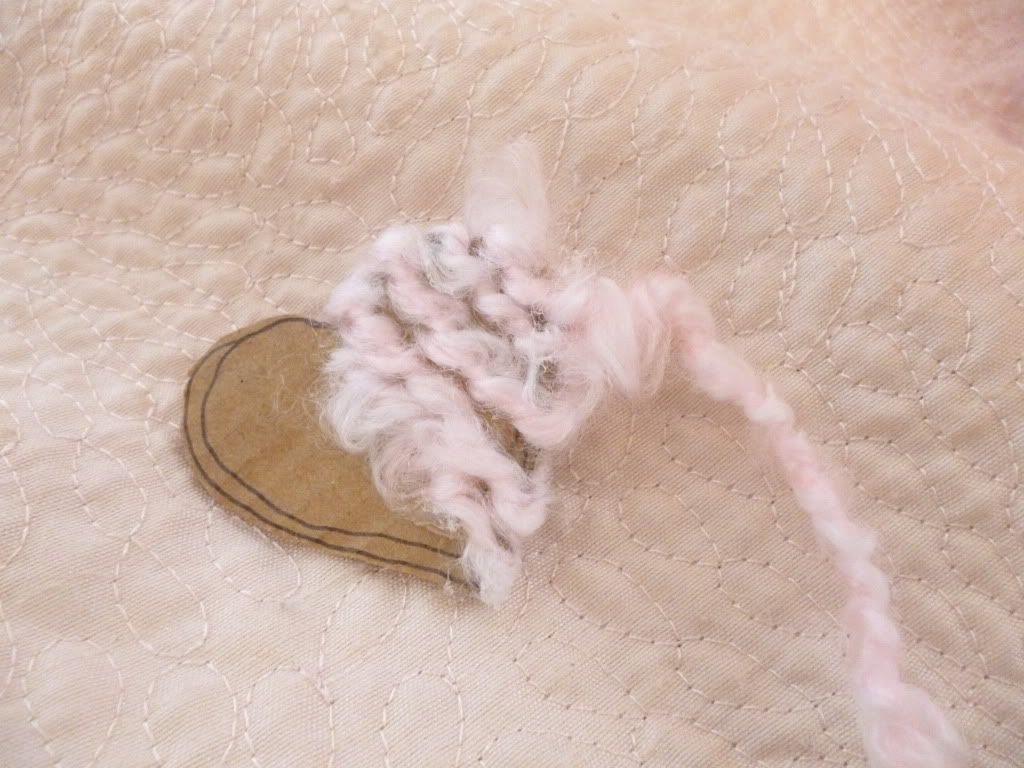
Follow the instructions on the linked post until the point where you have a yarn-covered piece of cardboard

Make a small bow with your material (it doesn't have to look as pathetic as mine). Size is up to you. I rarely measure anything, which is why I haven't offered any example measurements for this post ><

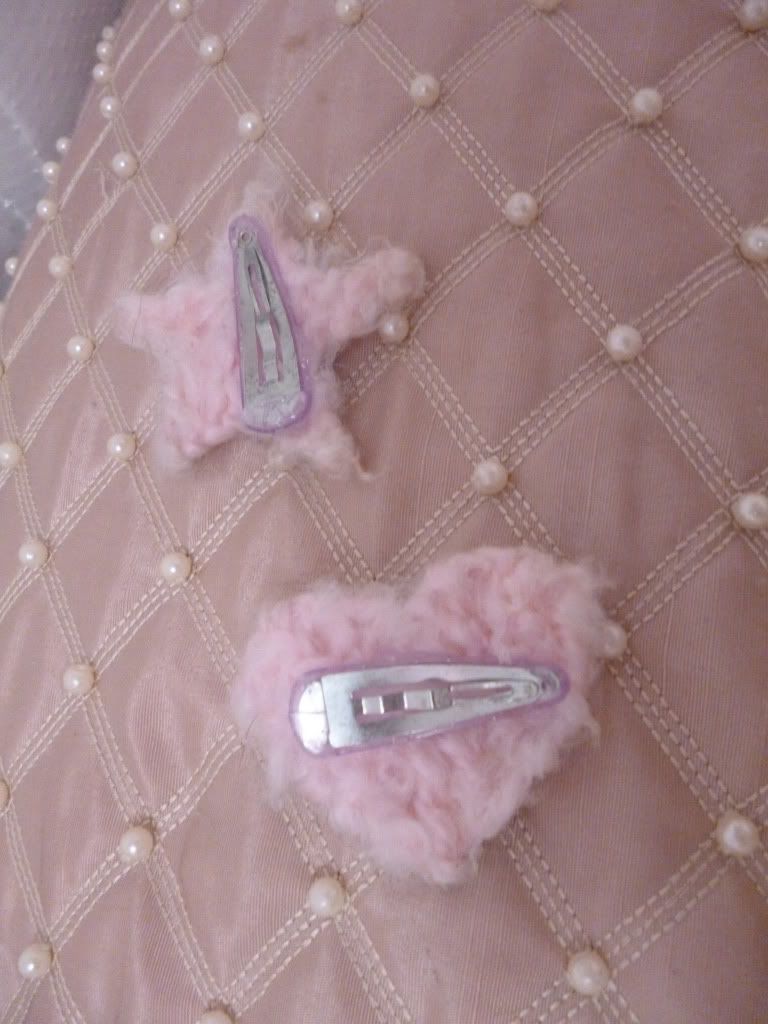
Cut a piece of lace trim that will be able to surround your yarn-covered cardboard piece.

Use hot glue to attach your lace trim.

...and the bow.

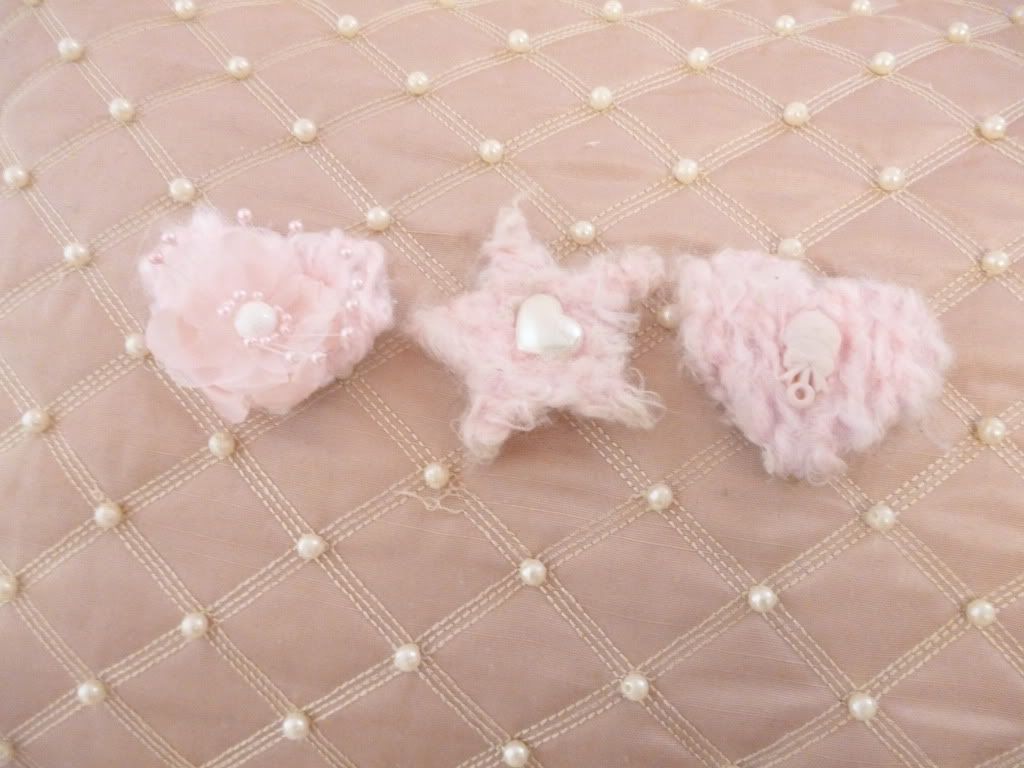
I'm going to use this little guy as my centerpiece ^^. Himena's accessory has a rabbit, but I'm obviously improvising.

Attach your centerpiece.

Oh, and speaking of improvisation, it's not absolutely necessary to use an animal. The only requirement is that it must be pretty =P

Last step, add a bobby pin. Normally, I would have used a snap clip. However, this seemed like a better idea to use on an accessory that would eventually be attached to a ponytail (or is it just me? Whenever I use snap clips on a ponytail they always come undone because of the curvature.)

That's all, I hope everyone enjoyed this post ^^


Oh, and if you have an inspiration picture that you would like me to copy an accessory from, you can tweet me @magicpearlheart ^^~

Sunday, May 20, 2012

DIY Hime Gyaru Deco Nail Art


I hadn't made a nail set in a long time (and I still have a few that I haven't worn), so I decided to make use of my free time and make a new one.

Materials:
  • Deco nail pieces (pearls, rhinestones, etc)
  • Toothpicks (for placing pieces onto nail)
  • Clear polish and color polish
  • False nails
I'll also be using Wet n Wild megalast polish in "Sugar Coat"
By the way, it's okay to use a cheaper polish when painting on false nails. False nails are smoother (so there's rarely any streaking with any polish) and more evenly colored (so fewer coats are necessary).


To keep the nail set in place while I'm decorating, I just attach a few pieces of tape to the table.

Paint the sizes of nails that you expect to use (As seen in the photo, I did not paint the largest nail because I know from experience that it's too big for me). Set out the largest deco pieces that you expect to use.


Brush a bit of clear polish onto the tip of a toothpick and use it to pick up and place the large pieces onto wet nails. If too much time has passed and the nails are no longer wet, just brush some of the clear polish onto the surface of the nails before placement.


Next, use smaller rhinestones (or pearls) to add complexity. There's no real "formula" for this part, it just takes a bit of creativity to make up an arrangement. I can offer examples but I don't actually have any helpful advice xD (sorry).

The last nail had me at a loss, so I just made a "flower" with a large pearl as the center and small pink rhinestones as the petals.

That's it ^^ Have fun flaunting your deco nails~

Thursday, May 17, 2012

DIY Hime Gyaru Handbag


I've already made post about decorating handbags (in fact, it was my very first post), but it was poorly done and wasn't very helpful or specific >< So consider this as kind of a...supplement (?) to that post.

Start with a plain handbag. I purchased this one from the thrift store for about $3.

There's no way that I could make a list of things needed for this tutorial, just look at this picture X) Besides, most of my decorations are improvisational. There's never a real plan. The picture above is composed of all the things that I gathered as possible things to use. I didn't use all of them, they're just examples >_>


I mixed a little bit of pink acrylic paint with white paint to create a very light baby pink color.


I then used the mixed paint to cover the largest areas of the handbag. I also used white paint to reinforce the accent flap of the bag~


Using a super cheap (it was literally like $0.88) broken pearl necklace, I created a trim for the flap.


Add a pretty lacy trim to the underside of the flap so that it is visible from the outside, but no one can see where or how it was attached.


Time for flowers of course ^^~ they're a necessity.


It still looked a bit empty, so I added a large bow to the top of the bag and a small ribbon bow to the bottom. On top of the small ribbon bow, I added a Victorian button piece. On the underside of the handbag I attached more lace trimming.


Lastly, I used smaller rose pieces as the trim for the upper flap. This part took so long >< I had to snip the flowers from the bouquet, then hot glue them to hold their shapes (otherwise they would unravel), and then glue each one to the bag.

Well, this has been a long (and pic-heavy) post. I hope that you guys are somewhat inspired to try something like this <333 ^^


See original handbag decorating tutorial here. 

Thursday, May 3, 2012

Cute Yarn Hair Clips (Simple)

A few years ago, I was browsing a website and saw something similar to these up for sale. To be honest, the ones for purchase looked much better than the ones that I've made T_T but I still thought that maybe I should share in case someone could take the basics and improve upon the technique.

So, you'll need:
  • Yarn (any color). Actually, gradient  yarn looks fantastic for this kind of project. Mine is a kind of "fuzzy" yarn, which is probably not the best type to use for this.
  • Cardboard
  • Hot glue
  • Hair clips
  • Any extra decorations for your hair clips


Draw the shape of your desired hair clip on your piece of cardboard. (Mine is a shoe box)


Cut out the shape.


Use hot glue to secure the first piece of yarn to your cardboard shape.


Wrap the yarn from top to bottom of the piece of cardboard all the way across the shape, then repeat from left to right. Cover the shape from left to right about three times, or until the cardboard color can no longer be seen. Any "extra" decorations can be added in this step Lastly, hot glue a snap hair clip to the back  of the shape.


Well...that's all ._.
Not such a great post, but maybe it can give someone a bit of inspiration. If someone comes up with a different technique, feel free to mention it ^^


Related Posts Plugin for WordPress, Blogger...