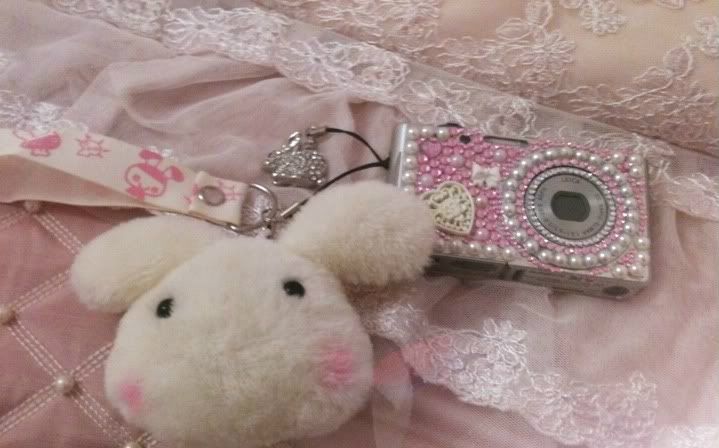
I actually completed this project a while ago, but I happened to have some photo documentation so I decided to make a post~
There are tons of tutorial posts like this one, so why bother writing one myself? Because its my turn to show off ┌(; ̄◇ ̄)┘
I have a pretty hefty stash of decoden supplies to begin with, but I'll include some places where one may be able to establish their own stash ^^ I'll only suggest links that I've actually used.
The most popular option is probably http://fullmoon07xxx.ocnk.net/ .
Another option that I enjoy is http://www.bornprettystore.com/ .
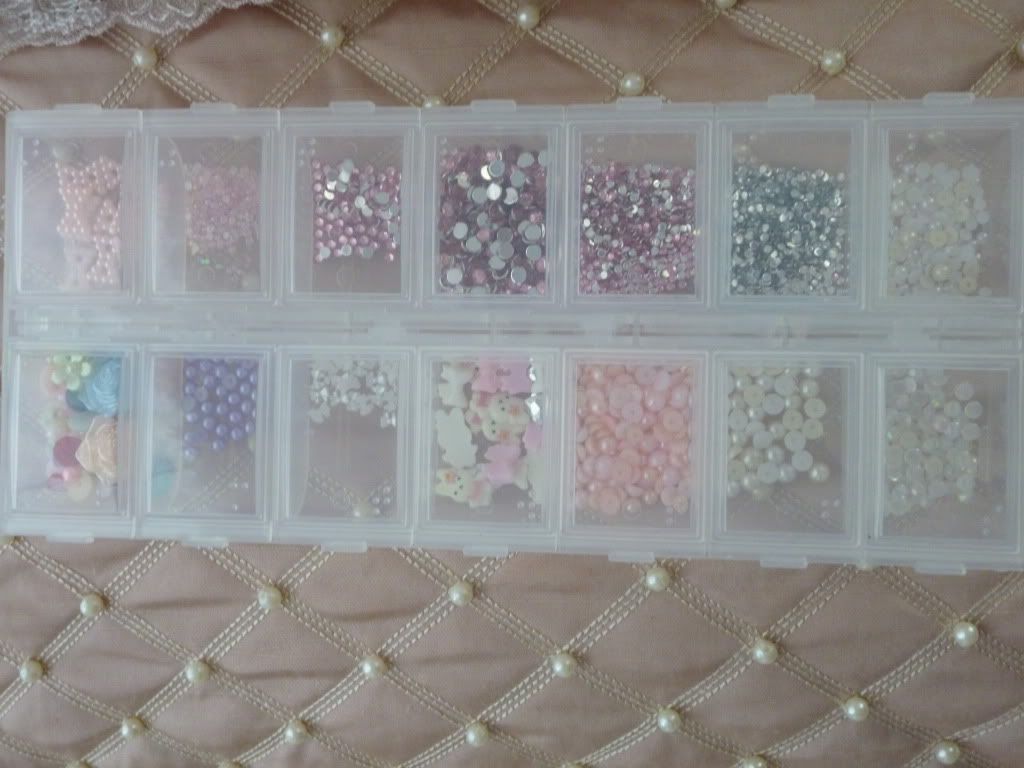
I like to keep my most popular supplies in a little plastic box to keep things organized, like this:
Items from http://www.bornprettystore.com/ usually come packaged in plastic wheels, and I leave them as such.
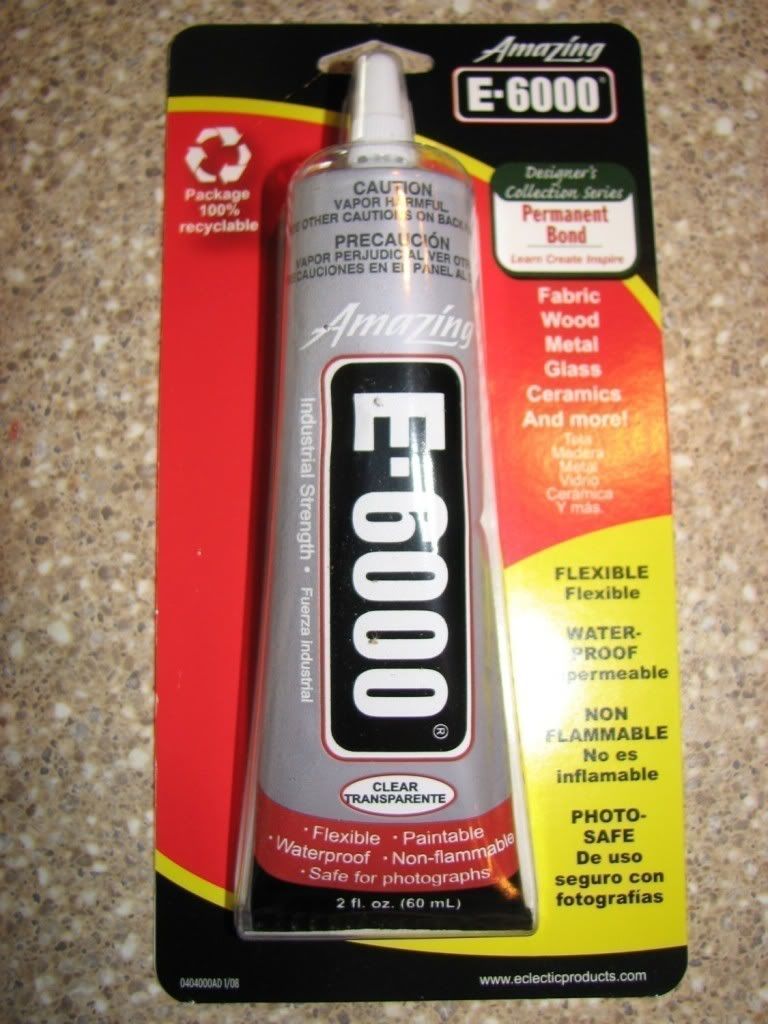
As for the glue that I use, I find E6000 to be the most cooperative.
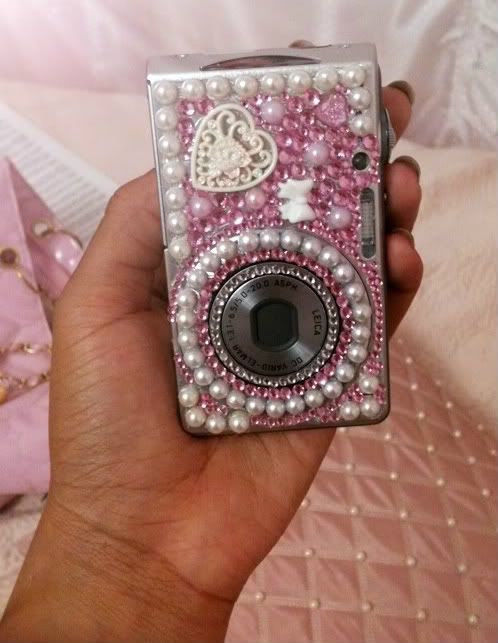
And now for my camera transformation~
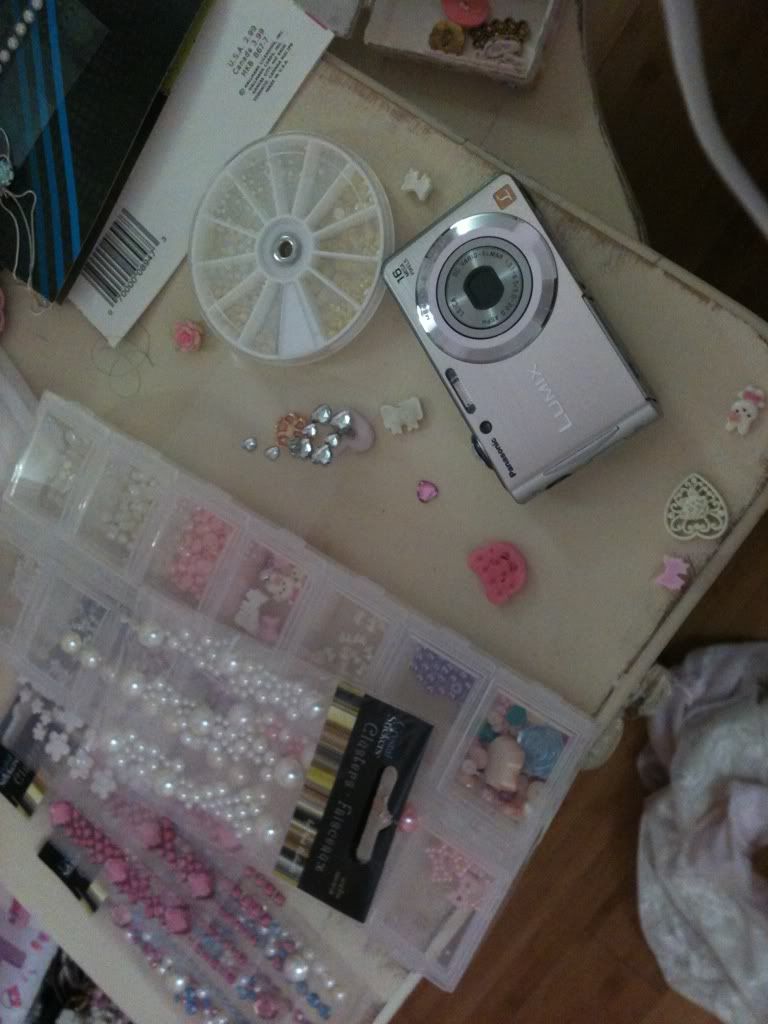
The last few pictures are less-than-desirable in quality because my camera was not in a position to take photos of itself at the time, and so I made due with my phone >_>
Anyway, I hope that someone can find this post at least a bit interesting or helpful ^^

OMG.. super kawaii!~ :D
ReplyDeleteThanks (⌒-⌒; )
DeleteWow! You are so good at Decoden!! I always make a mess! It looks great! I love your blog design layout, it's so pretty! :)
ReplyDeleteThanks a lot! The only trick to decoden is limiting your colors and starting with large pieces then working down to small ones for filling in the gaps. That's really all there is ^^
DeleteWow! You are so good at deco!<3 I love it!
ReplyDeleteThanks so much! ♪(´ε` )
DeleteI'd like to have all the kawaii decorations you have ç_ç
ReplyDeleteThe camera looks adorable, I love it!
Thanks so much :)
Delete