Saturday, December 22, 2012

Dainty "Shooting Star" Nail Tutorial


Hey everyone! So... after I went through the photos I had taken for this tutorial, I realized that I really screwed things up as far as lighting goes T_T

You see, I usually make tutorials early in the morning when the natural lighting is best. If I make them between about 1pm and 4pm, it'll be fine, but I'll need to turn up the white balance in my settings.

I began this tutorial early in the morning when lighting was fantastic, but I ended up doing most of the steps later. Unfortunately, I forgot to turn up the white balance, so the pictures are just awful X_X. 

Here's the tutorial anyway. From now on, please just expect my tutorials to be extremely underwhelming. That way, I won't feel like I'm disappointing anyone x)


For this tutorial, you will need:
  • A pink "jelly" polish (Jelly polishes work best for gradation. I'm using Orly- Lift the Veil)
  • Holographic stars
  • Clear or white caviar beads
  • Flatback rhinestones (different sizes optional)
  • Nail set
  • Tweezers (or other rhinestone placing tool)

 Step 1: Spread out your canvas.
I find that using poster putty to secure the nails to my work surface works fantastically.

*sigh*

For this tutorial, I really wanted my nails to have a gradient look to them. On the left hand, four of the nails have a gradient look, and the middle is solid color. On the right hand, I did the opposite. All of the nails are solid with the exception of the middle finger, which is gradated. 

I assume that everyone knows how to do this, so I didn't bother with a polish tutorial.


Next, use the holographic stars and caviar beads to make the "shooting star" pattern shown above. For my own set of nails, I used this design on all of my gradated nails and used a different design for the solid color nails.You may do this for all of the nails if you'd like.


Next, I'm adding some mid-sized rhinestones to the base of every nail with the shooting star pattern.


Place smaller rhinestones at the base of the nail sporadically.


Use caviar beads to create interesting patterns on the remaining solid pink nails. 


All done ^^.

I'm a little rusty when it comes to nail art, so give me a little bit of slack when it comes to these tutorials ><.

Know what? This would look even better on black polish. If you do this tutorial on black nails, send me a picture and I'll post it here :)

*Make sure to use a sheer or jelly polish!*

Saturday, December 8, 2012

My Lash Collection

Hi everyone! 
I've been pretty busy this week, so I thought I'd handle this week's post by sharing my lash collection instead of doing a tutorial.

Alright, here we go~


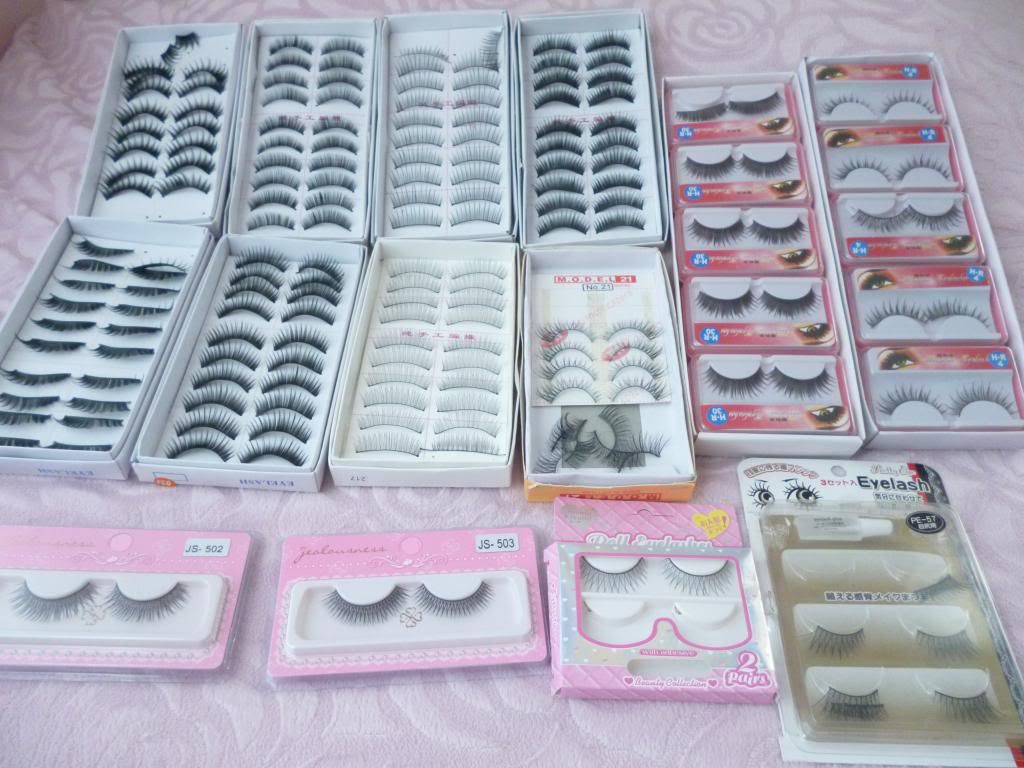
An overview of my collection:

These are my favorite natural lashes. I'm in love with the way that they flare out at the corners. These are "Pretty Eye" lashes in "PE-57":

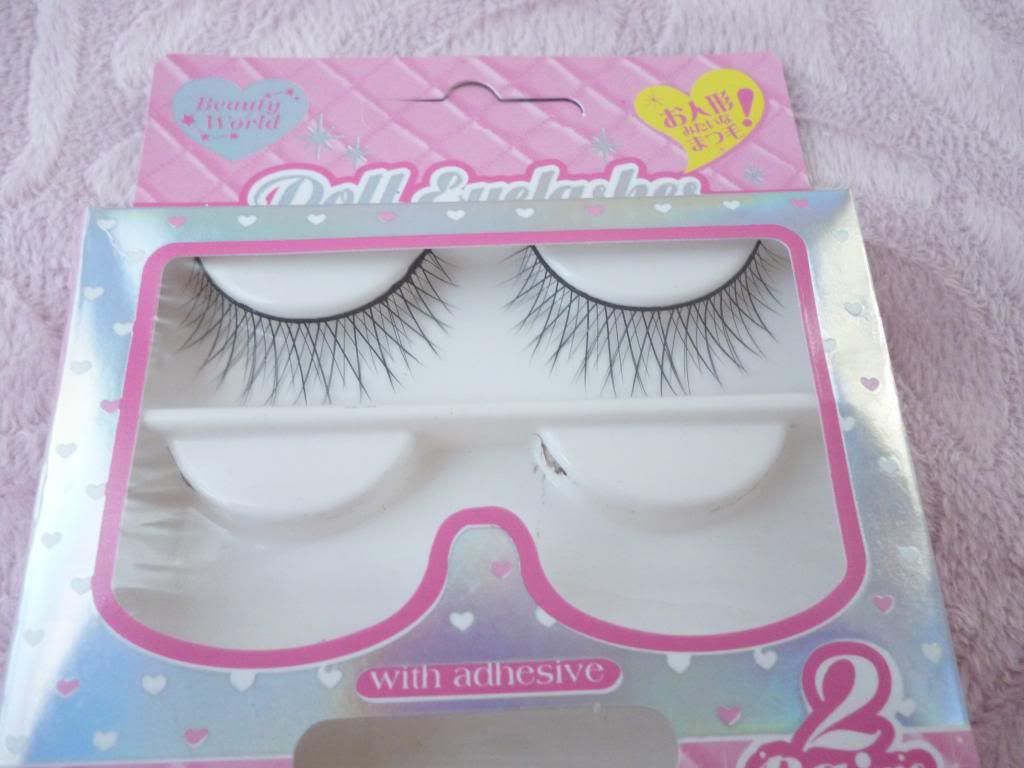
My first full set of criss cross lashes! It seems like everyone loves criss cross designs, but they didn't wear so well on me T_T. It may have been because they are lighter than my natural lashes, but I just don't feel like I'm very well suited for criss cross lashes. These are "Beauty World Doll Eyelashes":


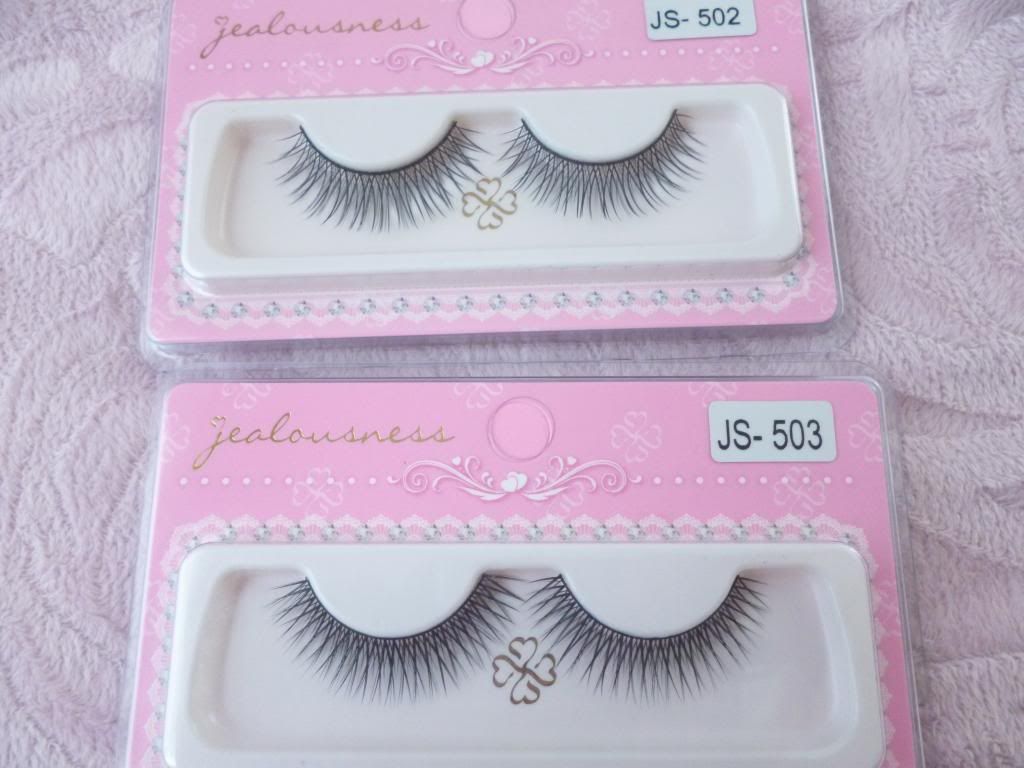
These are my only pairs of "Jealousness" lashes. The brand is pretty popular, and I can certainly see why! They're so pretty that I'm a little hesitant to use them. I have them in "JS-502" and "JS-503":


Are you guys familiar with Model 21 lashes? I own one box. These are a little too long and dramatic for me to wear off unless I cut them in half and wear the front half on the ends :p. These lashes are in style "21A":

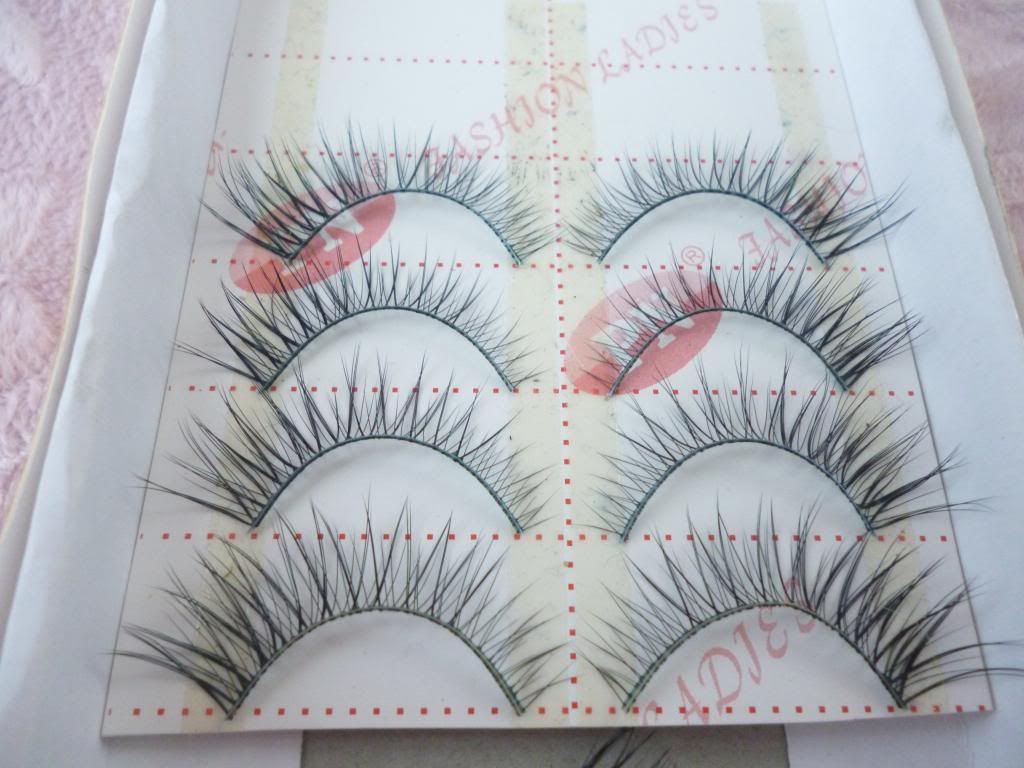
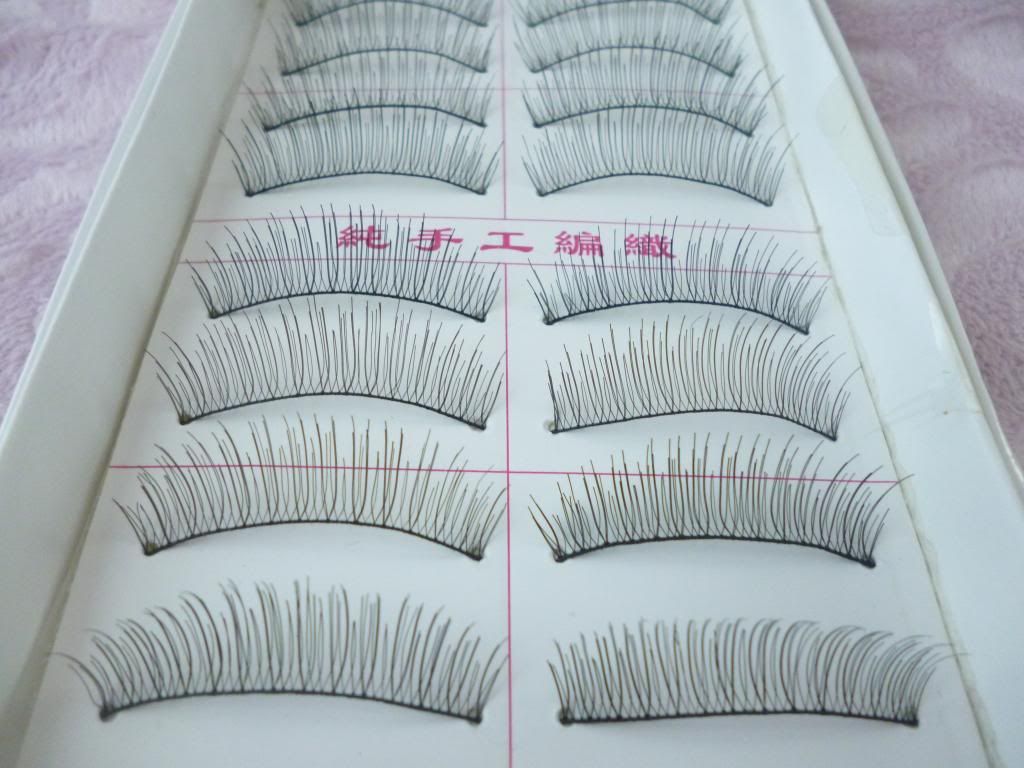
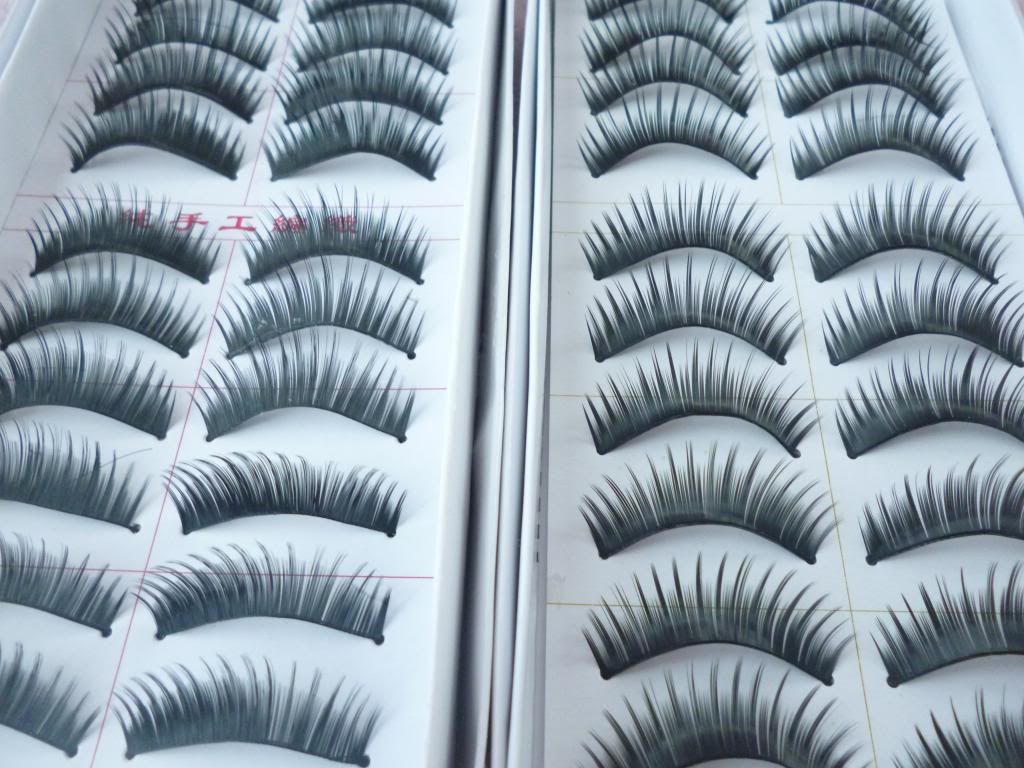
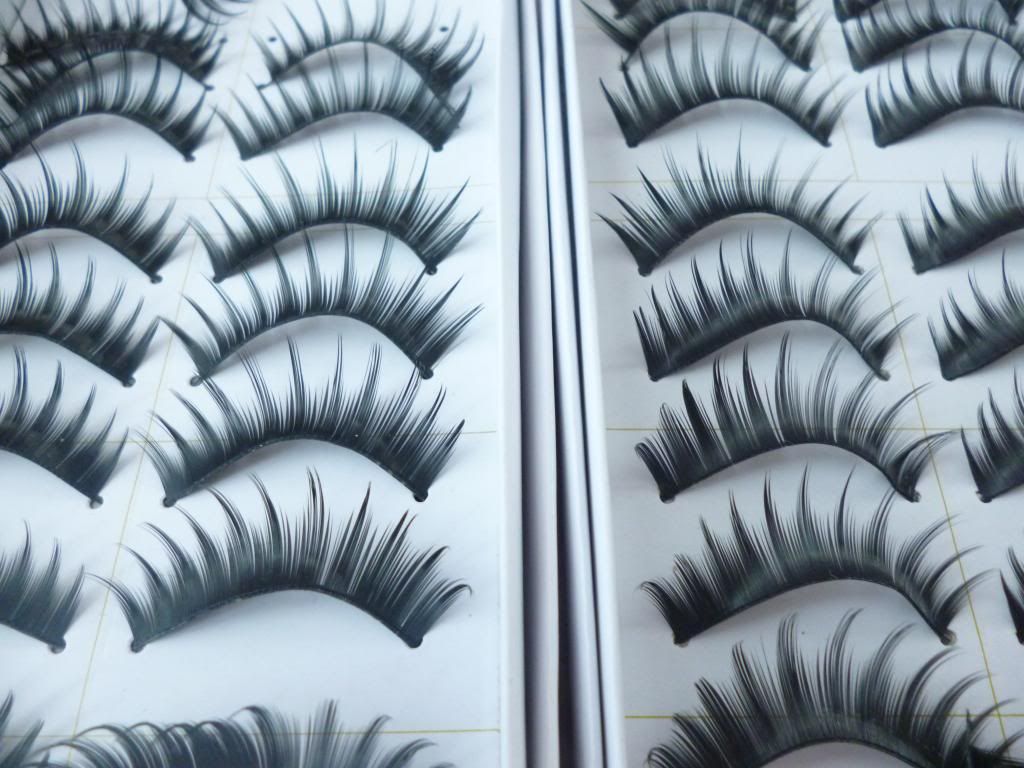
Several of the following lashes are those "brandless eBay lashes," so I can't list names T_T. But we can appreciate beautiful sets of lashes without the names, can't we? ^^

I haven't tried these yet, but they look super natural, and the band is very flexible. I think I'll enjoy them :) :


I accidentally purchased two boxes of these lashes, but I'm still not sure about how I feel about them T_T. Oh well, I can wear them in pictures or something =/


You guys have seen these on me before, so I won't go into them. :


I've seen these on lots of different bloggers, though I haven't tried them myself. They look pretty natural on everyone, so... *shrug* :


I was originally excited about these because they looked like shorter versions of my very favorite lashes in the stock photo. Now that I've received them, I can see that they're very different. They're not long, but they're extremely voluminous :) :


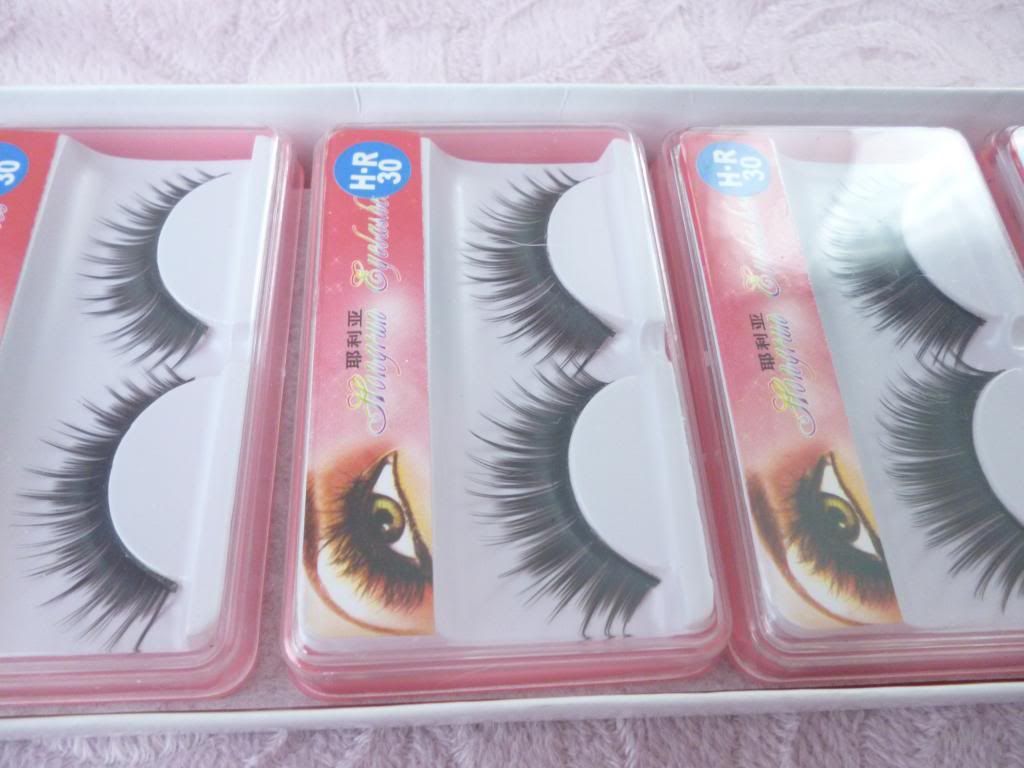
My absolute favorite lashes! They look extremely natural when worn, but they're also very....fairylike? These are Hongrun lashes in H-R 30:


These are great for photos as well :). However, these have to be my absolute stiffest lashes. They're not very comfortable T_T. These are Hongrun lashes in H-R 4


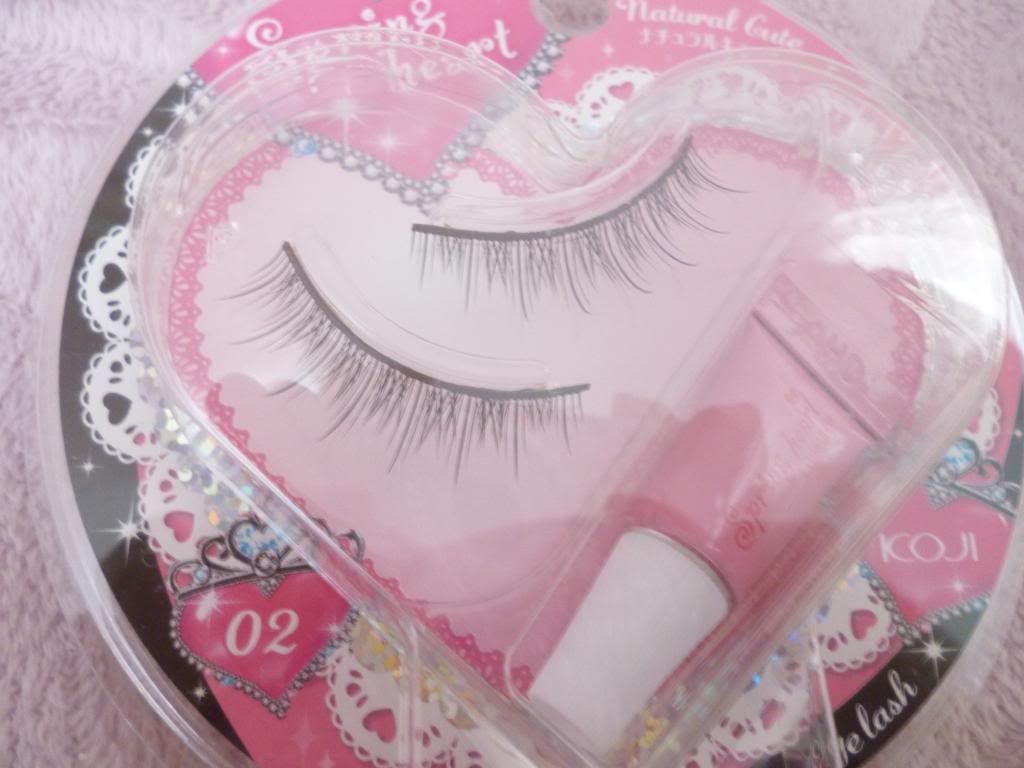
 Lastly, I have these "Koji Spring Heart" lashes in "Natural Cute." From what I've seen on others, they are VERY natural. For me, they're a little too natural. I'll probably end up gifting them ^^:


That's it for my collection :). I may have mentioned a nail tutorial some time ago, but the pictures are still sitting on my camera x).

Forgive my laziness!
Related Posts Plugin for WordPress, Blogger...