
In my last post, I shared a photo of some "candy" jewelry pieces that I had recently made. Candy themed jewelry seems to be popular among people that subscribe to the fairy kei or pastel goth styles, both of which I find very pretty :) This is two tutorials in one, so just bear with me on the length x)
Okay!
Tutorial #1: Lollipop Charms
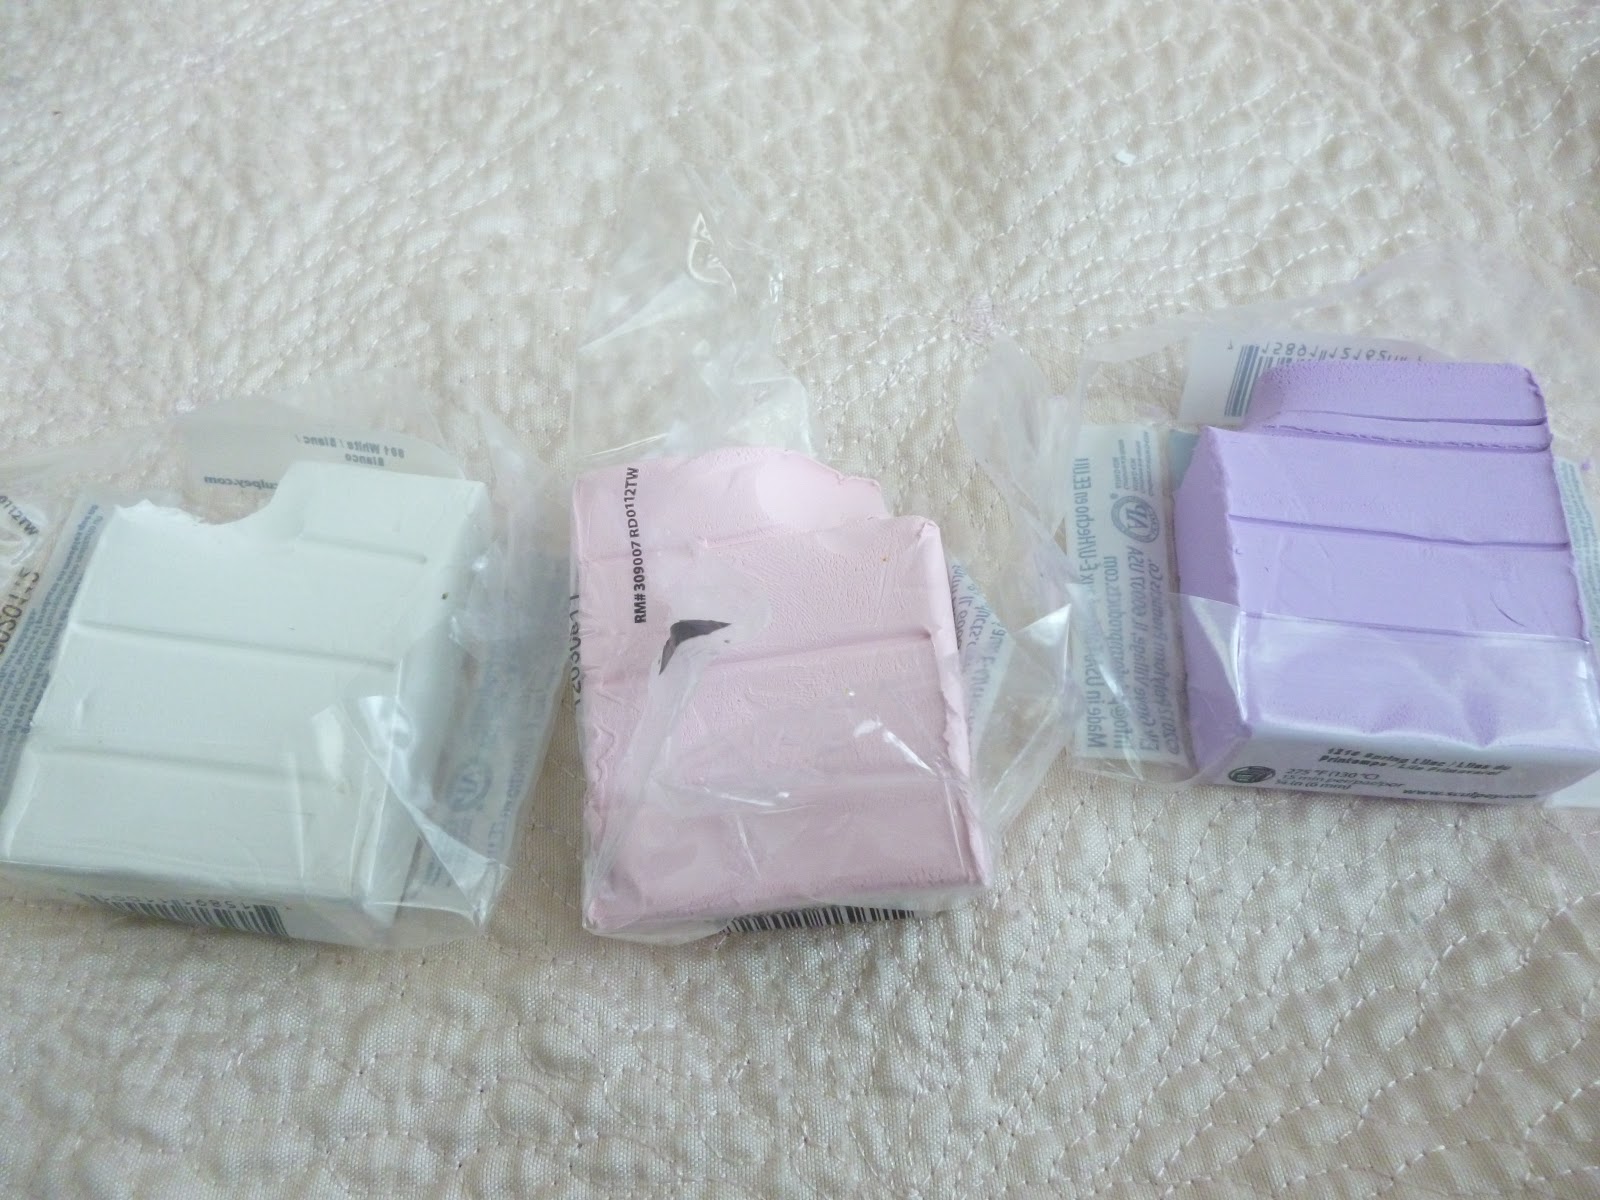
You will need:
- Oven bake colored clay
- Eye pins
- "Lollipop sticks"

Separate 3 similarly sized lumps of clay.

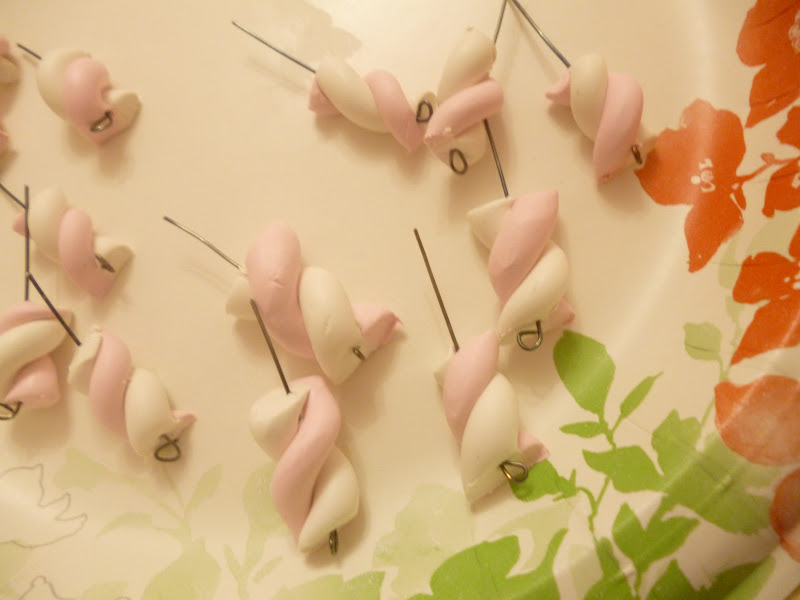
Roll out each lump separately into a cylindrical form and lay them side by side.

Ummm...do this ^
I'm not sure how to explain this step, but I don't believe that it really needs an explanation, right?

Roll out the attached pieces of clay to your desired thickness.

Carefully twist the formation until it appears similar to the above image.

I apologize for the gross yellow lighting =/ I moved to the kitchen in order to make use of the granite countertops. Choose one end of your clay formation as the center. Fold over the very tip~

Roll the twisted formation into a circular pattern. Insert an eye pin through the side of your lollipop. This will be the top of your lollipop. Insert your "lollipop stem" through the opposite side of the lollipop.
Skip to the end to learn about "baking" the jewelry pieces. No, I didn't necessarily think this out very well as I took photos.
Tutorial #2: Marshmallow Pole Charms
You will need:
- Oven bake clay
- Eye pins
- an ID card or credit card

Separate two similarly sized lumps of clay.

Roll them into a cylindrical shape.

Twist the cylinders together until it looks like this ^.
 |
Comparing my clay marshmallow pole to a real marshmallow pole.
|

Using an ID card, slice through the clay pole.


Insert an eye pin through the center of your charm~

Repeat this for each of the clay pieces.
Tutorial #3: Baking the pieces

Cover a baking sheet with aluminum foil.
Arrange each piece on the foil so that none of them are touching.
Bake according to the instructions on your clay.

After your pieces have been baked, you are free to decorate them in whichever way that you'd like.
To use your lollipop charms on a necklace, just attach a small jump ring and slip it onto a chain ^^. I feel think this tutorial may have seemed confusing, but it's actually verrry simple once you begin! Have fun everyone!
thank you for the great tutorial! ^^
ReplyDeleteNo prob ^^
DeleteOhhh they look absolutely delicious! *__* And so realistic! :D I wouldn't be surprised if anyone was fooled into thinking they're edible ^^
ReplyDeleteAs for the yellow lighting, what kind of camera do you use? ^^ On some if not most you have an option to adjust the white balance (e.g. for indoor lighting or sunshine or cloudy sky etc) I don't know if you already know, if you do I'm sorry ^^" but I thought I'd just point it out because it's quick and easy to change the settings and will get rid of the yellowish tint of photos in most cases!
Thanks a lot! I want to make more in different colors ^^ I'm happy about how they turned out :) does this mean you'll try this out? :p
DeleteI have the Panasonic Lumix DMC-FH5 >< It's a really bad camera =\ I have the white balance higher than standard on all of my photos xD the lighting was a result of the type of bulbs in my kitchen in conjunction with the time of day~
I think next time I'll just clear off some space in my room to work on :) sorry for the inconvenience!
the handmade candies are so cute!!!
ReplyDeletei followed you too xx
http://oliviiaaaaa.blogspot.com.au/
Thanks for your positivity! :)
DeleteWow that looks so delicious :D
ReplyDeleteThank you so much for sharing <3
Thank you ^^
DeleteThis is really cute!
ReplyDeleteLove it! If you like pastel goth, you should definitely check out this store: Crystal Bawl. It has some really unique pastel goth jewelry!
ReplyDelete