
In my last post, I shared a photo of some "candy" jewelry pieces that I had recently made. Candy themed jewelry seems to be popular among people that subscribe to the fairy kei or pastel goth styles, both of which I find very pretty :) This is two tutorials in one, so just bear with me on the length x)
Okay!
Tutorial #1: Lollipop Charms
You will need:
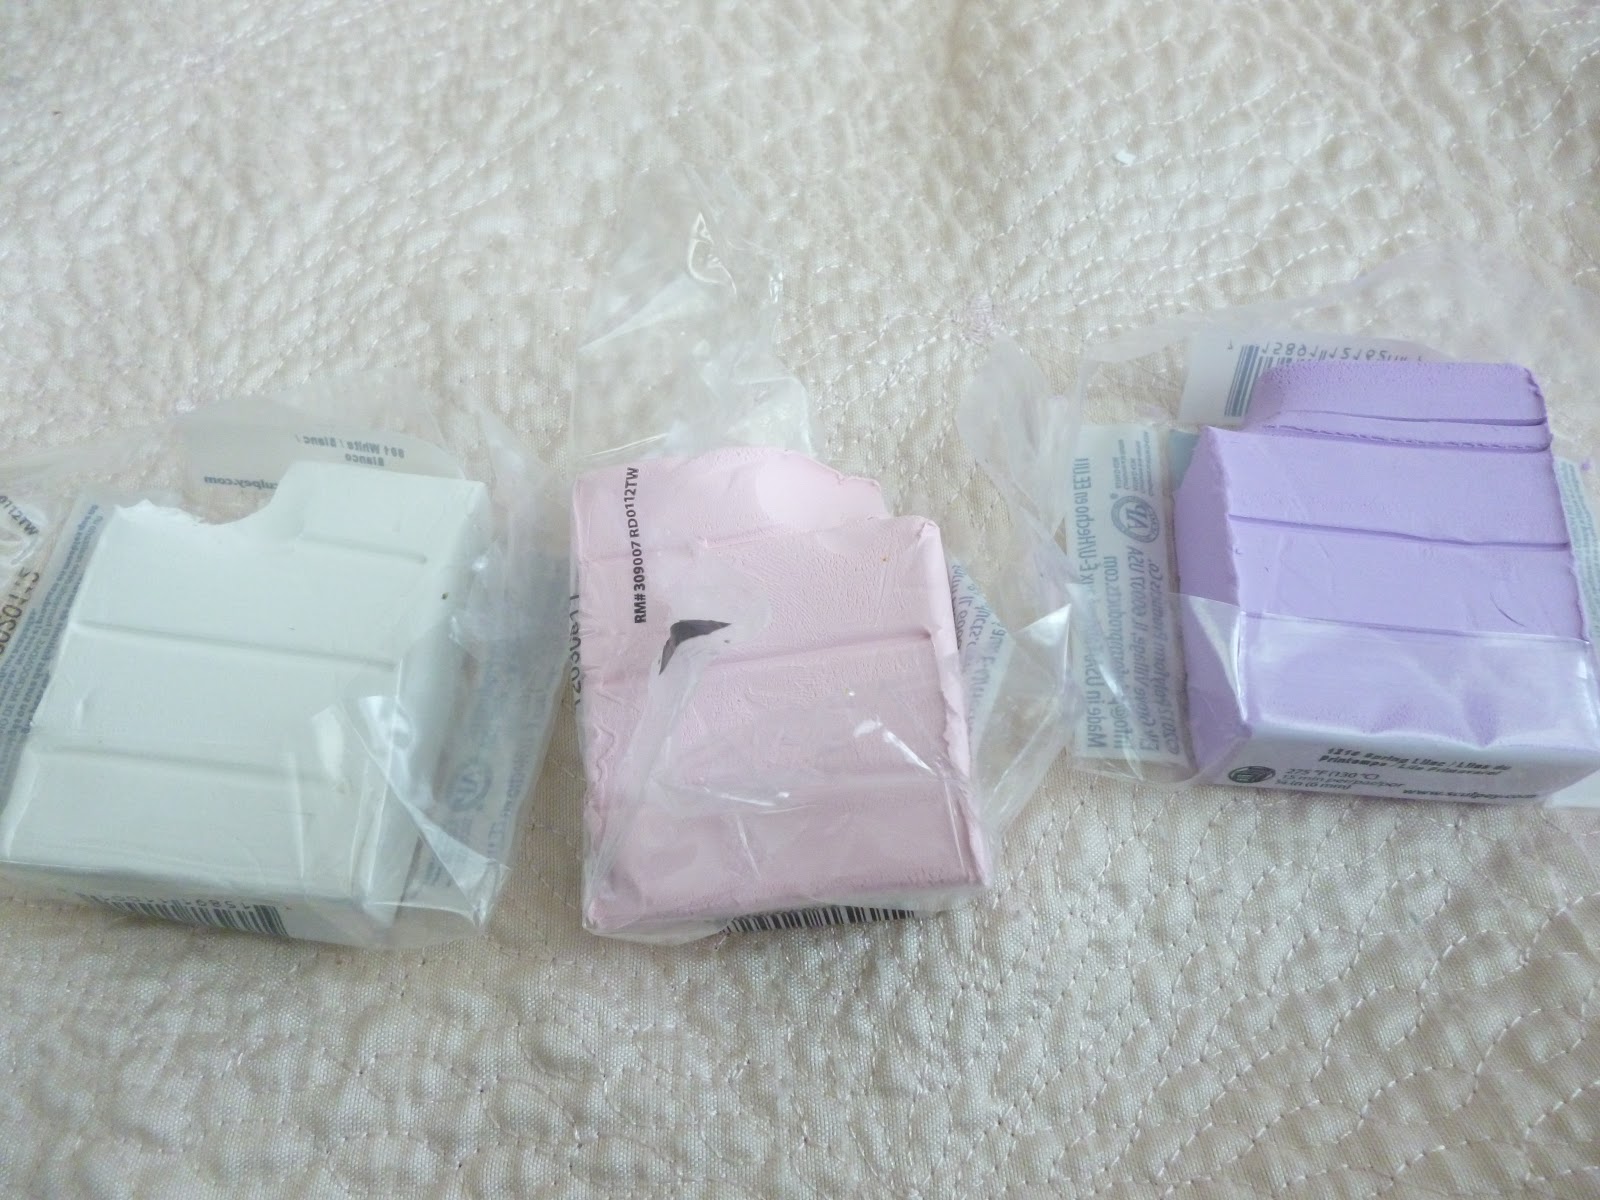
- Oven bake colored clay
- Eye pins
- "Lollipop sticks"

Separate 3 similarly sized lumps of clay.

Roll out each lump separately into a cylindrical form and lay them side by side.

Ummm...do this ^
I'm not sure how to explain this step, but I don't believe that it really needs an explanation, right?

Roll out the attached pieces of clay to your desired thickness.

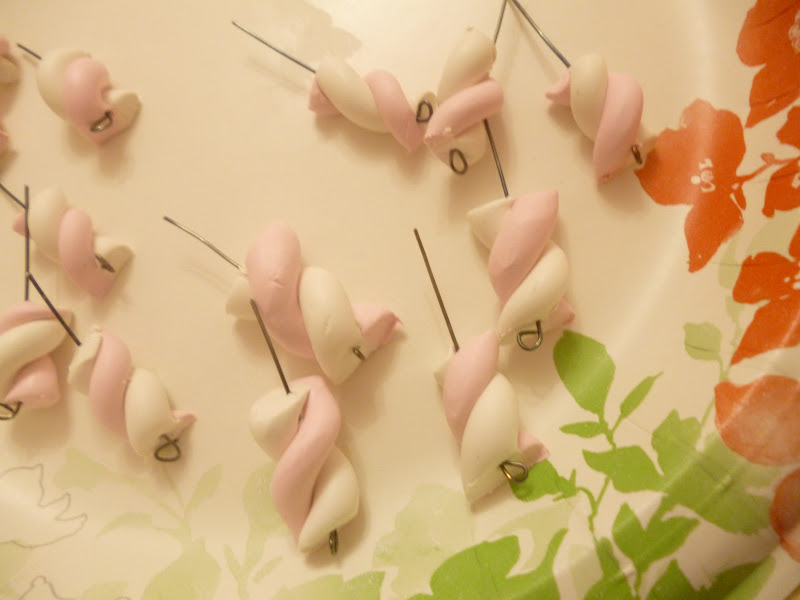
Carefully twist the formation until it appears similar to the above image.

I apologize for the gross yellow lighting =/ I moved to the kitchen in order to make use of the granite countertops. Choose one end of your clay formation as the center. Fold over the very tip~

Roll the twisted formation into a circular pattern. Insert an eye pin through the side of your lollipop. This will be the top of your lollipop. Insert your "lollipop stem" through the opposite side of the lollipop.
Skip to the end to learn about "baking" the jewelry pieces. No, I didn't necessarily think this out very well as I took photos.
Tutorial #2: Marshmallow Pole Charms
You will need:
- Oven bake clay
- Eye pins
- an ID card or credit card

Separate two similarly sized lumps of clay.

Roll them into a cylindrical shape.

Twist the cylinders together until it looks like this ^.
 |
Comparing my clay marshmallow pole to a real marshmallow pole.
|

Using an ID card, slice through the clay pole.


Insert an eye pin through the center of your charm~

Repeat this for each of the clay pieces.
Tutorial #3: Baking the pieces

Cover a baking sheet with aluminum foil.
Arrange each piece on the foil so that none of them are touching.
Bake according to the instructions on your clay.

After your pieces have been baked, you are free to decorate them in whichever way that you'd like.
To use your lollipop charms on a necklace, just attach a small jump ring and slip it onto a chain ^^. I feel think this tutorial may have seemed confusing, but it's actually verrry simple once you begin! Have fun everyone!