Saturday, December 8, 2012

My Lash Collection

Hi everyone! 
I've been pretty busy this week, so I thought I'd handle this week's post by sharing my lash collection instead of doing a tutorial.

Alright, here we go~


An overview of my collection:
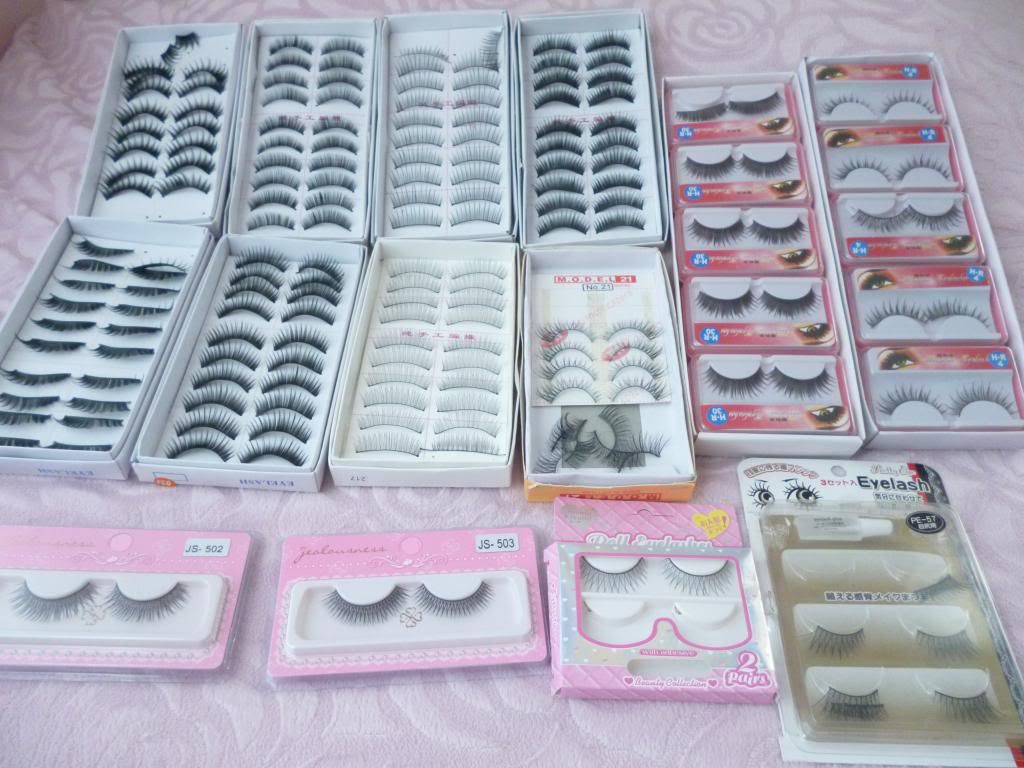
These are my favorite natural lashes. I'm in love with the way that they flare out at the corners. These are "Pretty Eye" lashes in "PE-57":

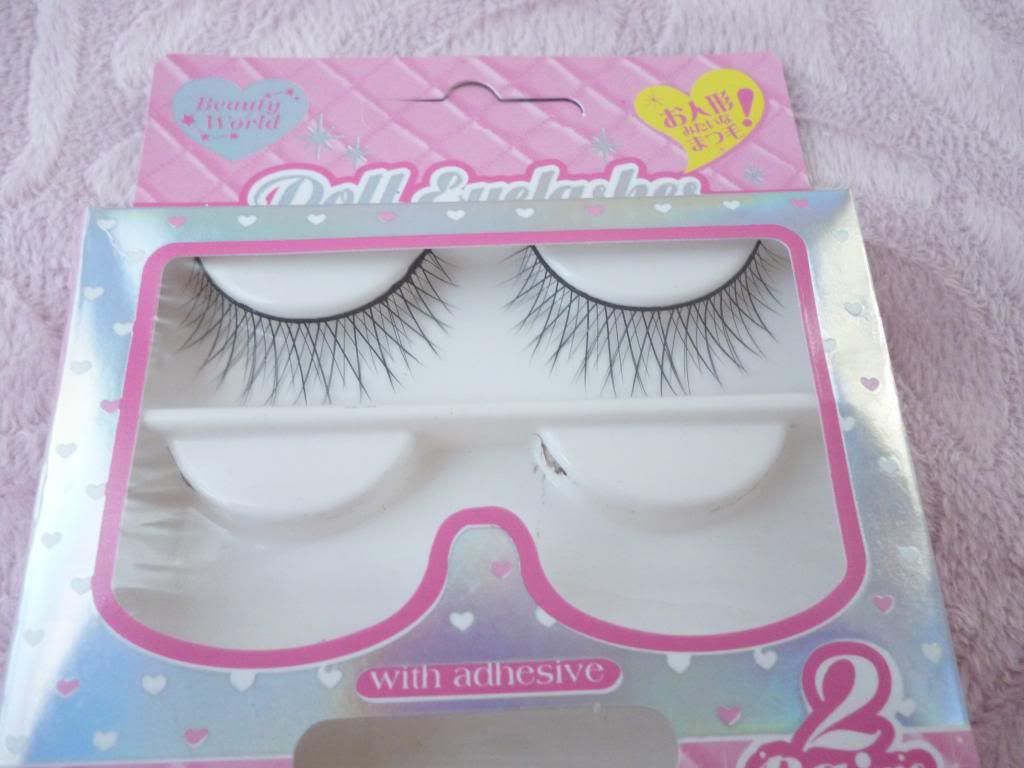
My first full set of criss cross lashes! It seems like everyone loves criss cross designs, but they didn't wear so well on me T_T. It may have been because they are lighter than my natural lashes, but I just don't feel like I'm very well suited for criss cross lashes. These are "Beauty World Doll Eyelashes":

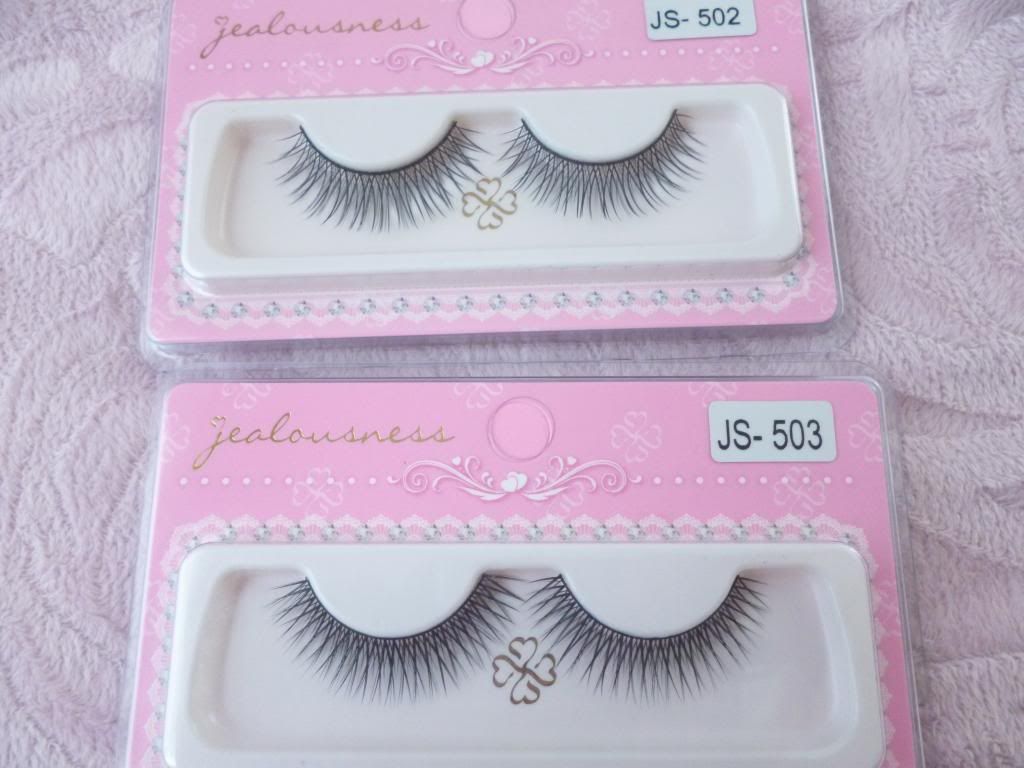
These are my only pairs of "Jealousness" lashes. The brand is pretty popular, and I can certainly see why! They're so pretty that I'm a little hesitant to use them. I have them in "JS-502" and "JS-503":

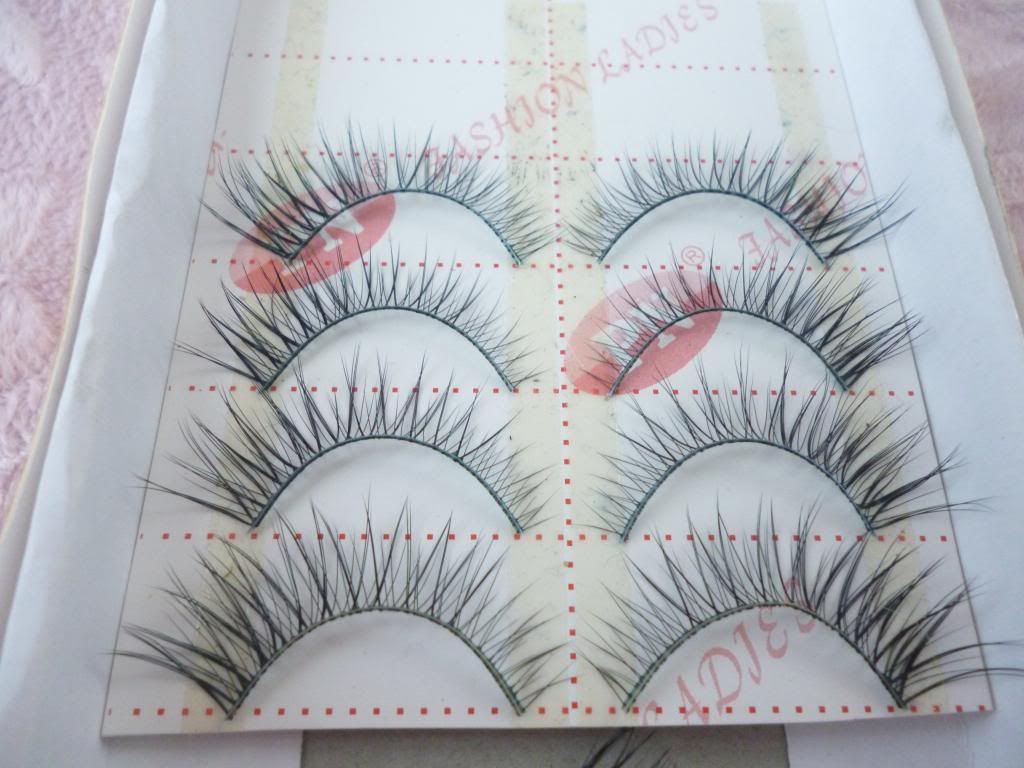
Are you guys familiar with Model 21 lashes? I own one box. These are a little too long and dramatic for me to wear off unless I cut them in half and wear the front half on the ends :p. These lashes are in style "21A":
Several of the following lashes are those "brandless eBay lashes," so I can't list names T_T. But we can appreciate beautiful sets of lashes without the names, can't we? ^^

I haven't tried these yet, but they look super natural, and the band is very flexible. I think I'll enjoy them :) :
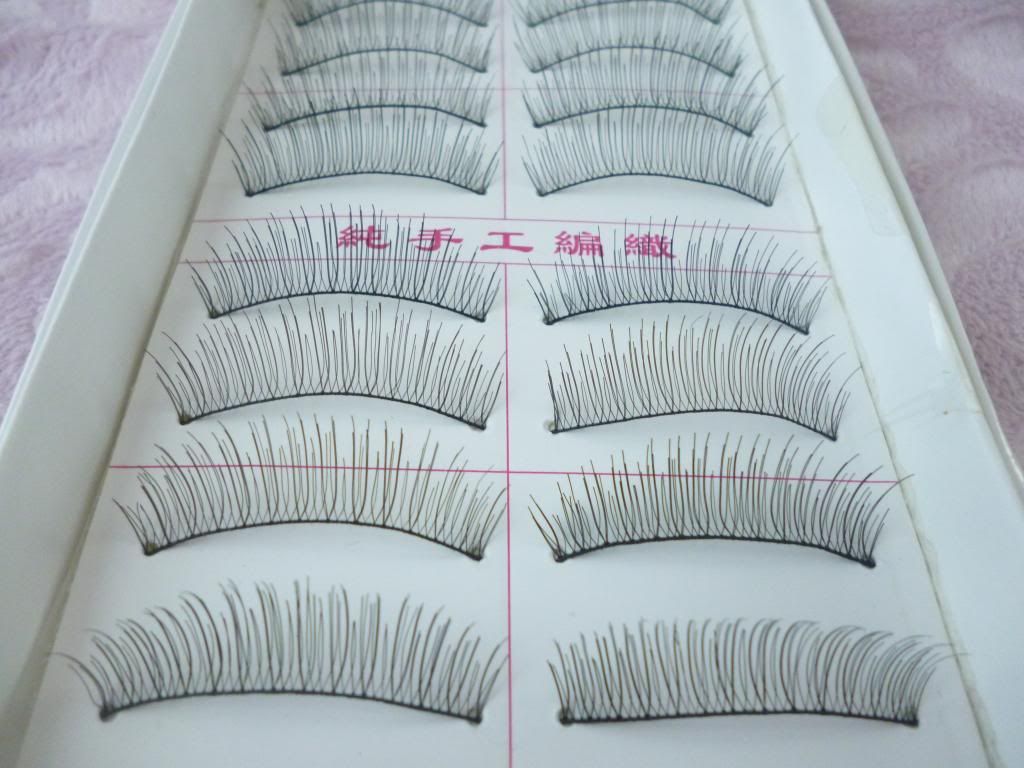

I accidentally purchased two boxes of these lashes, but I'm still not sure about how I feel about them T_T. Oh well, I can wear them in pictures or something =/
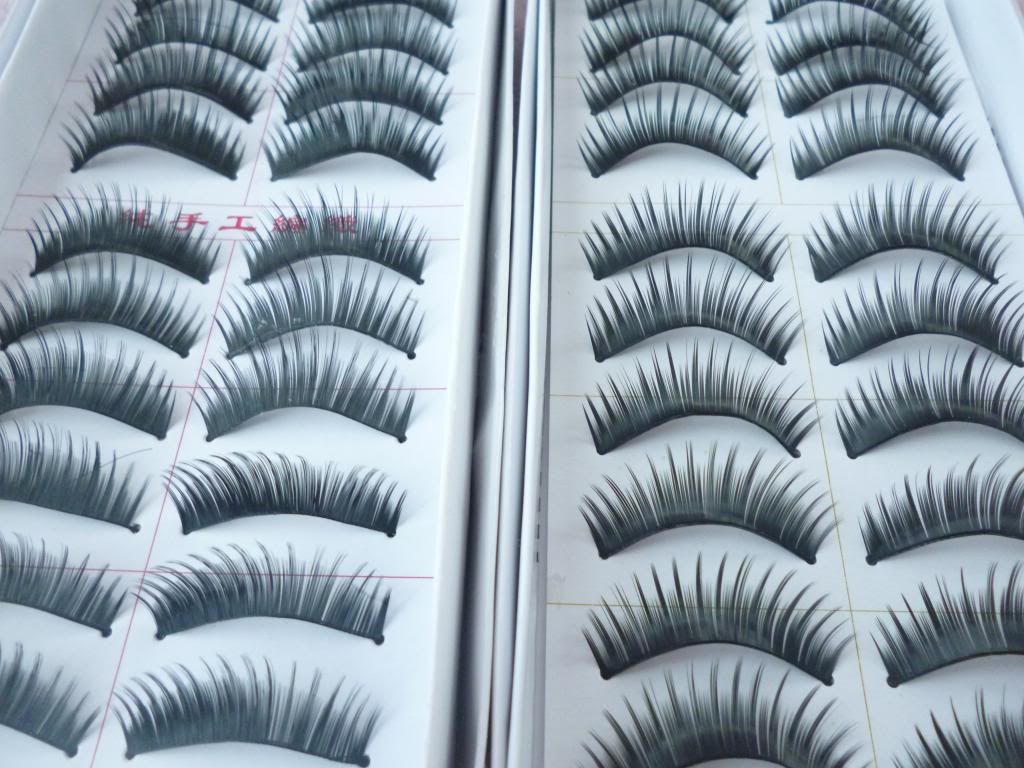


You guys have seen these on me before, so I won't go into them. :
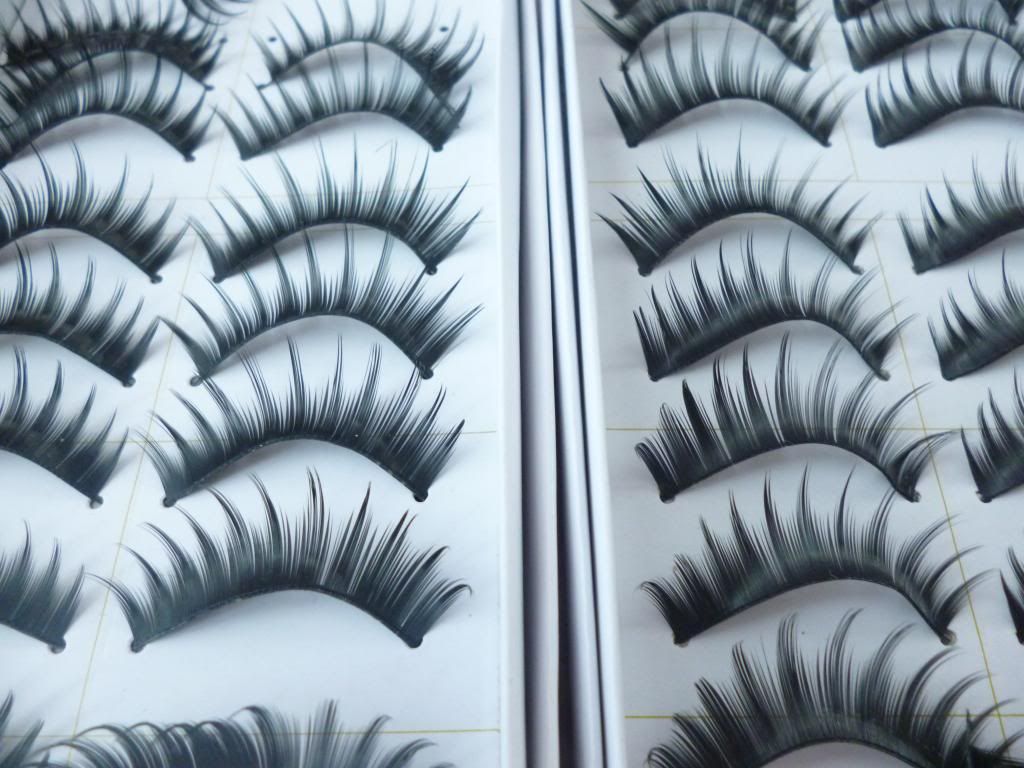


I've seen these on lots of different bloggers, though I haven't tried them myself. They look pretty natural on everyone, so... *shrug* :


I was originally excited about these because they looked like shorter versions of my very favorite lashes in the stock photo. Now that I've received them, I can see that they're very different. They're not long, but they're extremely voluminous :) :


My absolute favorite lashes! They look extremely natural when worn, but they're also very....fairylike? These are Hongrun lashes in H-R 30:
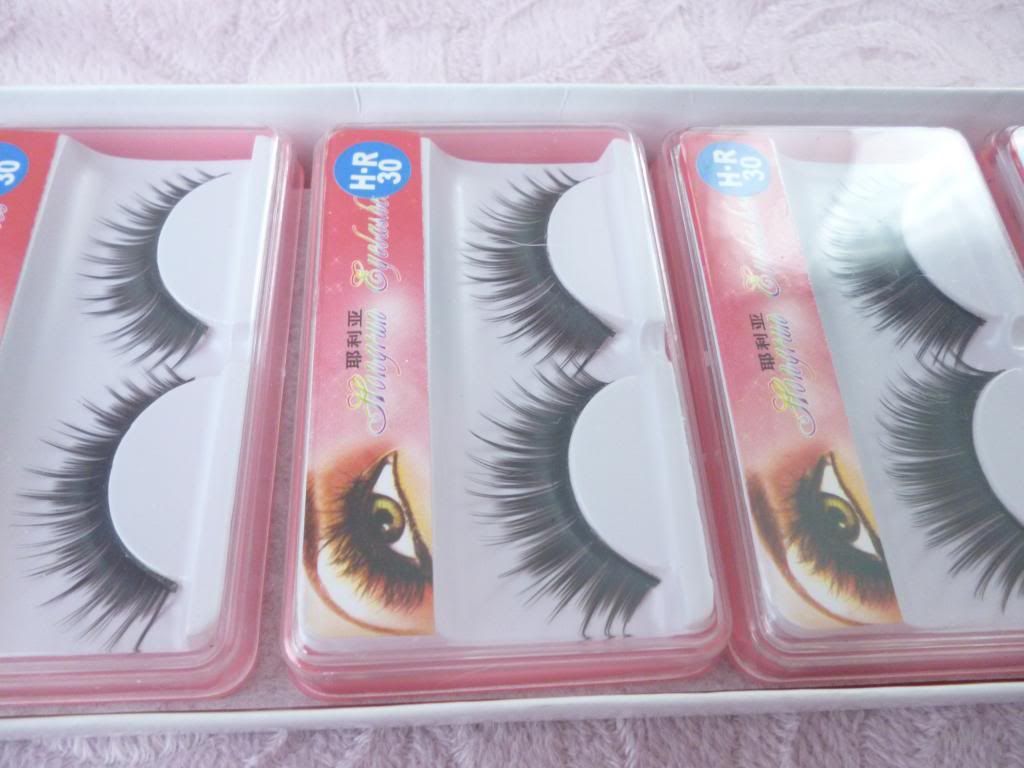


These are great for photos as well :). However, these have to be my absolute stiffest lashes. They're not very comfortable T_T. These are Hongrun lashes in H-R 4


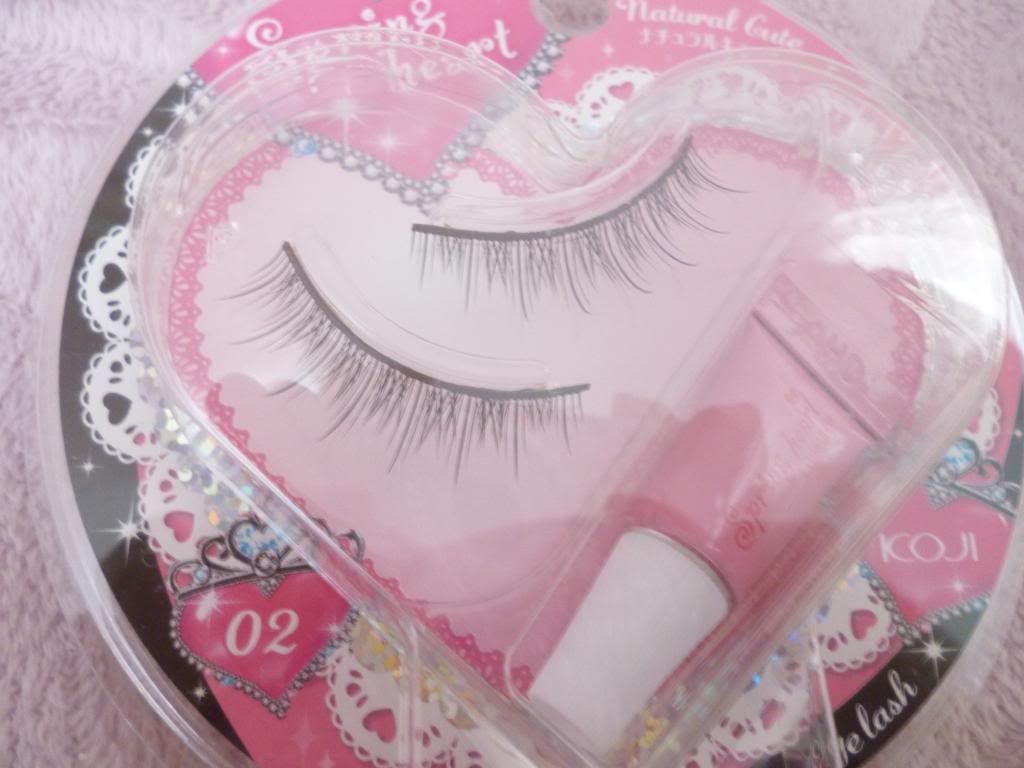
 Lastly, I have these "Koji Spring Heart" lashes in "Natural Cute." From what I've seen on others, they are VERY natural. For me, they're a little too natural. I'll probably end up gifting them ^^:


That's it for my collection :). I may have mentioned a nail tutorial some time ago, but the pictures are still sitting on my camera x).

Forgive my laziness!

Saturday, November 17, 2012

DIY Hime Gyaru Choker #496


Hey everyone! It's been soooo long T_T.

I've just been extremely busy with school work and the college application process.

To further disappoint, I have another choker tutorial for you guys.


I usually try to space out tutorials of the same kind, but I've been reeeeally into chokers lately.
So yeah, here's yet another choker tutorial.


We all know how to make a bow by now, right? Here I'm just showing how I used lace trim to line the inside edges of my fabric.


Fold both ends of the material towards the center. 

Ignore that ribbon on the side. K thx.


Use a piece of the same fabric to cinch the center of the bow.


Before using hot glue to seal the edges of my bow, I placed pearl string between the fabric.


Measure a piece of ribbon about the size of your neck or slightly longer. Line the ribbon with lace trim.


Adhere your bow to the center.


Retrieve a spool of smaller ribbon. 
Measure a piece of the ribbon about twice the length of your neck or slightly longer.


Adhere to the back of your necklace.


Well...that's pretty much it. When worn, only the larger ribbon is seen from the front. Once tied, the smaller ribbon can only be seen from the back.

I like the finished product, but I can tell that the tutorial itself was a little choppy. I'll work on it ><.
It's been so long that blogging now feels unnatural x)


I'm thinking about doing a nail tutorial next time.

Stay tuned

Sunday, October 7, 2012

DIY Hime Gyaru Princess Melody Inspired Necklace


Hey everyone!

If you follow my blog, you probably follow Mana's blog (yup, big assumption there). But just in case you don't, here's a post wherein Mana shares a few things from Himena's new Princess Melody line.


...including the pretty necklace shown above ^^.

I'll offer a disclaimer here: 
Himena's necklace is a million times higher quality than the version I've made, and there are several differences between the two. 

That being said, lets get on to the tutorial~


You will need:
  • Lace ribbon
  • Large ribbon
  • Mid-sized ribbon (not shown)
  • Material (for bow)
  • Centerpiece 
  • High heat hot glue (or sewing machine)

First things first: the bow. 
Determine the size that you'd like your bow to be, then cut a piece of fabric that is double that size.


Fold in the edges of the fabric and glue them down to prevent them from fraying.


Fold and glue the other ends to create a rectangle.


Make sure that the sides remain open ^^


Cut a piece of ribbon to your desired length and place through the ends of the rectangle.


It should look like this.


Cinch the middle of the rectangle with a piece of ribbon, creating a bow shape.


Place and adhere lace ribbon inside the sides of your bow.


It should look like this.


Trace the edges of your bow with lace trim.


Do the same for the edges of the wide ribbon.


I really should have done this before cinching and securing the ribbon, but I forgot ><.
Cut a long piece of mid-sized ribbon and secure behind the large ribbon.


^like this


Lastly, secure your centerpiece to the center of your bow.

You can see through my cheap ribbon xD


Fin ^^~

As far as centerpieces go, I'd like to share these:

Yuki sells them here.
These are similar to Himena's so I'm sharing them in case someone wanted to make a necklace that was more similar. Not sponsored, I promise =X

Well, hope you guys enjoyed this inspired tutorial ^^~
Happy DIYing :)


Related Posts Plugin for WordPress, Blogger...